Do Solar Panels Need Direct Sun or Just Light to Work? We will check how to setup a small solar panel equipped lighting system. This project can be rewarding in two ways: it saves money and it helps the environment.
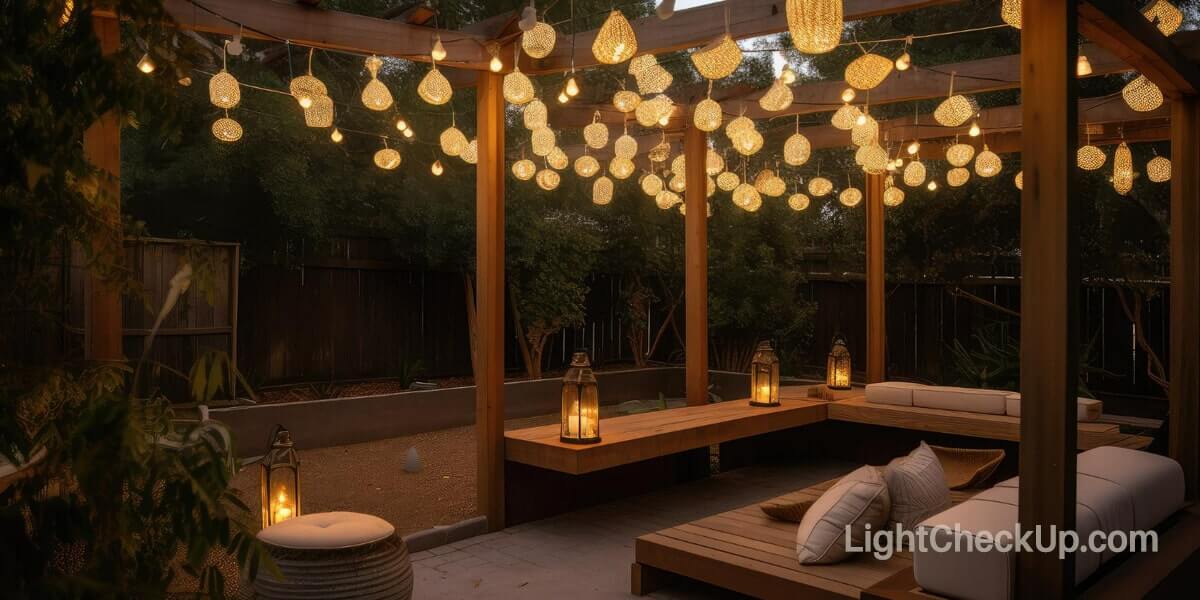
Do you want to add a touch of magic to your garden or patio? A solar-powered lighting system is a great choice. It’s efficient and environmentally friendly!
This blog post will show you how to set up a reliable system powered by the sun.
We need to understand how the System works?
We’ve created a wonderful lighting system that’s small and solar-powered. It’s got a solar panel that captures the sun’s energy, a battery that stores it. And a charge controller that manages the charging process.
It’s got LED lights to light your way and make your space bright and cheerful. We wanted to make something that’s simple and easy, so anyone with a few basic tools can set it up.
And we kept the costs low, so it’s something that homeowners like you can enjoy without breaking the bank.
How to setup a small solar panel equipped lighting system? Step-by-Step Guide

Step 1: Determine Your Power Requirements
First, you need to figure out how much power your lighting system will require. This depends on the type and number of lights, and how long they’re on each day.
- Calculate the total power consumption: LED lights are energy-efficient, consuming 5-10 watts each. For example, if you have three lights, that’s 15-30 watts total.
- Determine the daily energy requirement: If the lights are on for 12 hours, multiply the power by hours. So, 15-30 watts * 12 hours = 180-360 watt-hours per day.
- Example: For two 10W lights on for 10 hours, it’s 200 watt-hours per day. As you plan your small solar panel equipped lighting system, accurate calculation is key.
This step ensures you size your components correctly, avoiding underpowered systems.
Step 2: Choose the Right Solar Panel
Once you know your daily energy requirement, pick a solar panel that can produce that amount during available sunlight hours.
- Calculate the required panel capacity: If your area has 5 hours of sun and you need 240 watt-hours, the panel should be at least 48 watts (240 Wh / 5 hours). When selecting the solar panel for your system, consider a buffer for efficiency.
- Panel types: Monocrystalline panels are more efficient but costlier, while polycrystalline are cheaper. For a small system, a 50-100W panel is suitable.
- Orientation and tilt: In the northern hemisphere, face the panel south, with a tilt equal to your latitude minus 10-15 degrees for year-round performance.
This ensures the panel captures enough energy to meet your needs.
Step 3: Select the Appropriate Battery
The battery stores energy from the panel during the day and powers the lights at night.
- Determine battery capacity: For a 12V system, if your daily energy is 240 Wh, the battery should be at least 20 amp-hours (240 Wh / 12 V). For 2-3 days’ autonomy, choose a 40-60 Ah battery. Choosing the battery for your small solar panel equipped lighting system is crucial for reliability.
- Battery types: Lead-acid batteries are common and cost-effective, while lithium-ion are lighter but pricier. Opt for deep-cycle batteries designed for solar use.
This step ensures you have enough stored energy for nighttime use, especially on cloudy days.
Step 4: Set Up the Charge Controller
A charge controller regulates the charging to prevent battery damage.

- Types: PWM controllers are simpler and cheaper, good for small systems. MPPT controllers are more efficient but cost more. Setting up the charge controller in your system requires matching it to your panel and battery.
- Selection: Choose a PWM controller compatible with your setup, ensuring it handles the panel’s current and battery voltage.
This protects your battery and extends its lifespan.
Step 5: Choose the Lights
Select lights that work with your system’s voltage, typically 12V.
- Type of lights: Use LED lights for energy efficiency and longevity. Selecting the lights for your small solar panel equipped lighting system ensures compatibility and efficiency.
- Weatherproofing: Choose outdoor-rated lights, like pathway or spotlights, ensuring they match your total power needs.
This ensures the lights operate reliably and efficiently.
Step 6: Installation
Proper installation is key for safety and performance.

- Solar Panel Installation: Mount the panel in a sunny, south-facing spot, securing it against weather. Installing your small solar panel equipped lighting system requires attention to detail.
- Battery Placement: Place the battery in a dry, cool, ventilated area to prevent overheating.
- Connections: Connect the panel to the controller, then to the battery, and finally the lights to the battery. Use correct wire gauges, like 10 AWG for 12V, 10A systems.
- Safety: Ensure all connections are secure and insulated to avoid shocks or fires.
- Testing: Verify the system works by checking lights at night and battery charging during the day.
This step ensures the system is safe and functional.
Read Also: Sunlight through glass? Secret of Transparent Solar Panels for Home Energy!
Additional Considerations
Cost Efficiency
You might not expect that setting up such a system can be cost-effective, with estimates ranging from $160-$350 for basic components:
| Component | Cost Range (USD) |
|---|---|
| Solar Panel (50W) | $50 – $100 |
| Battery (12V, 50Ah) | $50 – $100 |
| Charge Controller | $20 – $50 |
| Lights (2 x 10W LED) | $20 – $50 |
| Wiring/Hardware | $20 – $50 |
This makes it an affordable option, especially with long-term savings on electricity bills.
Maintenance Tips
- Keep the solar panel clean to maximize efficiency. Also check Automated Solar Panel Cleaning Systems: What are the secrets?
- Check the battery regularly, topping up water for lead-acid types if needed.
- Ensure the panel isn’t shaded by trees or buildings.
For more detailed sizing guidance, visit Properly Sizing Solar.
Troubleshoot Common Issues
- If lights don’t turn on, check if the battery is charged and connections are good.
- If the battery isn’t charging, ensure the panel gets sun and the controller works.
- For dim lights, check battery voltage and panel output.
Read Also: How to deal with flashing blue light solar panels? Want to try 5 Quick Fixes
Case Study
Let’s say you want to light your garden with two 10W LED lights for 10 hours nightly.
- Daily energy: 200 watt-hours (2 * 10W * 10 hours).
- Solar panel: With 5 hours sun, need 40W; choose 50W for buffer.
- Battery: For 2 days, 400 Wh / 12 V = 33.3 Ah; choose 35-40 Ah.
- Setup: Use a PWM controller, install as per instructions.
This example shows how to setup a small solar panel equipped lighting system practically.
Conclusion
Now that you know how to setup a small solar panel equipped lighting system, you can enjoy sustainable lighting for your outdoor space.
Follow these steps for a reliable setup, and maintain it regularly for long-term efficiency. If you have questions, feel free to ask in the comments.


