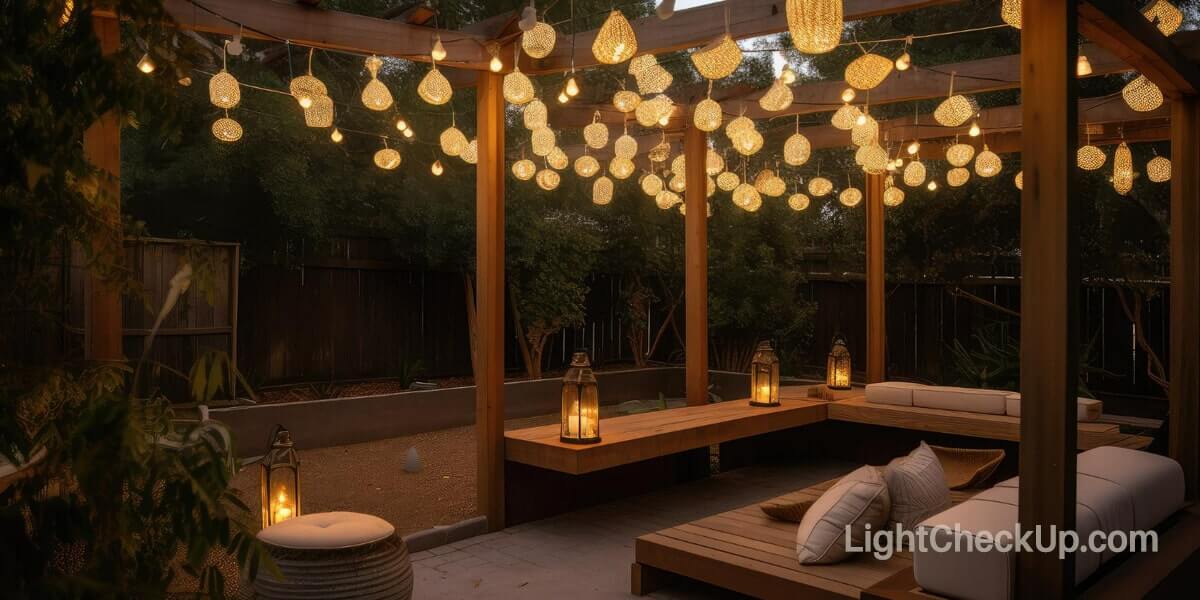
Solar landscape lighting are a fantastic and eco-friendly way to brighten up your garden. They’re easy to install, require no wiring, and are energy-efficient since they run on sunlight. These solar landscape lighting replacements produce a soft glow, ideal for creating a cozy atmosphere in your backyard.
It may affect their performance as well as require updated batteries in cloudy weather, but the advantages outweigh these disadvantages.
In this guide, I will help you understand everything about solar lighting, including where to get replacements and DIY solar landscape lighting tips. Get ready to turn your backyard into a beautiful, sun-powered space!
What is solar landscape lighting?
Solar landscape lights harness the sun’s power to illuminate your outdoor space. A solar panel on top of these lights collects sunlight and converts it into energy stored in rechargeable batteries. As the day fades, stored energy powers LED lights, casting a welcoming glow until dawn.
What are the components of a solar garden light?
Solar garden lights include a solar panel, a rechargeable battery, LED lights, and a control chip. Solar panels convert sunlight into electricity, stored in a rechargeable battery.
During the day and at night, the LED lights are turned on and off by the control chip.
Where to Find Solar Landscape Lighting Replacement Parts:

Your solar adventure doesn’t have to end with dimming lights! Finding replacement parts is easier than ever.
Amazon offers a variety of solar light replacement parts, ranging from batteries and LED bulbs to solar panels and decorative toppers. There are many major chains that carry replacement parts for popular solar light brands, such as Lowe’s and Home Depot.
Many local stores that offer solar solutions offer a wide selection of parts and expert advice.
Read Also: Do You Know The 9 Amazing Benefits Of Solar Home Lighting Systems?
How to install solar landscape lighting replacement parts
Solar landscape lights are an excellent way to illuminate your outdoor space without wiring or high electricity bills. I will walk you through the process of replacing parts in your solar landscape lights. This will ensure that your backyard disco is back in action in no time.
Before We Begin: Gather Your Tools
- Screwdrivers (Phillips and flathead)
- Pliers (optional)
- Replacement parts (batteries, bulbs, solar panels).
- Clean cloth
- Optional: Gloves, safety glasses
Step 1: Diagnose the Problem
First things first, figure out why your lights are misbehaving. These are some common causes.
Solar panels that are dirty, lack of sunlight, and dying batteries cause dim lights. Flickering lights are caused by loose connections, faulty bulbs, and dying batteries. There is a problem with the lights: dead batteries, water damage, or faulty wiring.
Step 2: Access the Parts
Solar lights usually have a compartment that houses batteries, bulbs, and wiring. Use the appropriate screwdriver to open the compartment.
Step 3: Replace the Faulty Parts
Now, the fun (and sometimes fiddly) part begins! Here’s how to tackle the most common replacements:
- Batteries: Simply remove the old batteries and replace them with replacement ones of the same voltage and type. Verify that the polarity of the wire is correct (positive goes to positive, negative goes to negative).
- Bulbs: Most solar lights use LED bulbs, which are easy to replace. Make sure the installed bulb is the right type and wattage and unscrew the old one.
- Solar panels: Replacing a solar panel is less common, but if yours is cracked or damaged, you’ll need one. Connect the brand-new panel to the old one, and mount it securely.
Step 4: Reassemble and test.
Once you’ve replaced the faulty parts, carefully close the compartment and tighten any screws. Turn on the lights and enjoy! In case the problem persists, you should seek professional help.
Read Also: Municipal Solar Street Lights For Parks: Are Solar Street Lights Worth It?
DIY or Call for Help? Troubleshooting solar landscape lighting
Why do solar lights suddenly stop working? I will help you troubleshoot and fix common problems to get your backyard shining bright again.

Here’s what you need to do:
Solar Panels: Clean with a damp cloth. Replace if damaged. A clean solar panel captures more sunlight, improving performance and lifespan.
Batteries: Change them every 2-3 years for quality rechargeable ones. It is critical to follow responsible disposal practices when disposing of old solar panels to minimize environmental impacts.
Bulbs: Check for burnt-out LEDs or loose connections and replace if needed.
1. Locate the bulb compartment in your solar light.
2. Remove the screws or clips that secure the compartment cover.
3. Carefully remove the cover to access the LED bulbs.
4. Identify the burnt-out LED and remove it from the circuit board.
5. Install a new LED of the same type and wattage in the vacant socket. 6. Replace the compartment cover and secure it.
7. Test the light by turning it on to ensure all LEDs work.
8. If the light still doesn’t turn on, inspect the wiring and connections for defects.
Wiring troubleshooting:
Check for loose or corroded connections. Following these steps will help you fix loose or corroded wiring connections: Disconnect the wiring from the solar panel and battery. Inspect each wire carefully for damage signs.
You should use a wire stripper to remove wire insulation. You can tin the ends of the wires by heating them with a lighter or a soldering iron.
The wires should be twisted tightly together and secured with a wire connector. You will need to repeat these steps for each wire that needs to be reconnected. As soon as the connections have been made, carefully reconnect the wiring to the solar panel and the battery. To ensure the light functions properly, turn it on.
Water damage:
Remove any waterlogged lights and inspect them for internal damage. Your solar lights should be checked for damage inside.
Open the light by unscrewing or unclipping the cover. Gently remove the cover to see the LED bulbs and circuit board. Look for any obvious damage to these parts. If you find damage, replace the affected part to fix the light.
After you fix the issue, use compatible batteries and bulbs. If the problem is more complex, call a professional. It is key to positioning your lights for the best sun exposure.
Your solar lights will stay lit all night if you keep spare batteries and bulbs on hand!
Remember: Always double-check compatibility when buying replacement parts. Ensure they match your specific light model and brand for optimal performance.
Read Also: Langy Solar Lights: What Makes Langy Solar Lights A Great Choice For 2024
In conclusion, solar landscape lighting offers you an elegant, sustainable way to illuminate your outdoor haven. With a bit of knowledge and readily available replacement parts, you can keep your oasis glowing for years to come. So, embrace the sunshine, ditch the wires, and enjoy solar light’s soft, magical glow!


