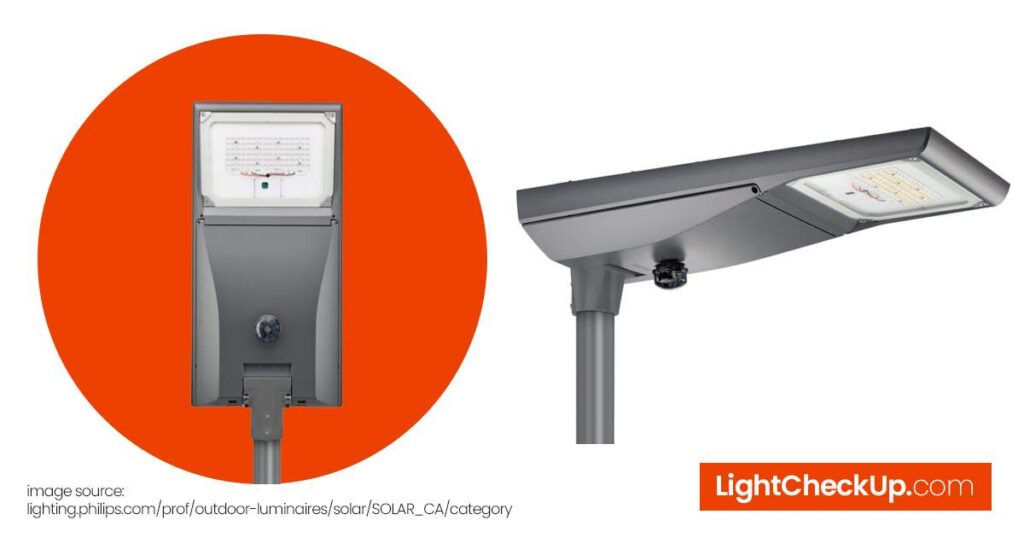
Solar street lights are popular. As a green lighting solution because it is energy efficient and sustainable. Langy Solar Lights are useful for urban lighting because they harness solar energy and convert it to electricity.
One of the leading manufacturers of solar streetlights is Philips Lighting. This company has been at the forefront of sustainable lighting solutions for over a century.
In this article, we will guide you through installing Philips solar street lights. You can make your community eco-friendly and efficient.
Why Choose Philips Solar Street Lights?
Philips is known for quality and reliability, meaning you’re getting both innovative and reliable products.
These lights use solar power, greatly reducing electricity use and saving on energy bills. As long as you operate the system correctly, you will save money on electricity in the long run.
Solar energy reduces carbon emissions, making lights green. A smart LED light comes with features like automatic lighting adjustments and motion sensors.

Made to last and withstand weather changes, reducing replacement needs. There’s a range of designs to fit different settings and preferences. Bright light makes it easier to see at night, safer. You don’t have to worry about complicated wiring during installation. Philips has great customer service.
In short, Philips Solar Street Lights are an efficient, reliable, and sustainable lighting choice.
Read Also: Solar Light For Outdoor Walls: How Do I Choose An Outdoor Wall Light?
How to install Philips solar street light? Solar street light installation procedure
Now that we understand the benefits of Philips solar street lights, let’s dive into the installation process.
Step 1: Site Assessment
Before installing solar streetlights, it is essential to conduct a site assessment to determine the most suitable location for the lights. The site should have access to direct sunlight for a significant portion of the day to ensure maximum energy production.
Additionally, the site should be free of obstructions such as trees or buildings that could block sunlight.
Step 2: Gather materials.
To install Philips solar street lights, you will need the following materials:
- Solar streetlight kit (includes a solar panel, battery, LED light, and pole)
- Concrete base or mounting bracket
- Concrete mix
- Shovel
- Spirit level
- Wrench
- Screwdriver
- Wire cutters
- Safety gear (gloves, goggles, etc.)
Step 3: Prepare the site.
Once you have selected the site and gathered all the necessary materials, it’s time to prepare the site for installation. Remove any debris or obstructions from the area. Make sure you dig a hole slightly bigger than the base if you’re installing it on concrete. Use the right tools to attach your mounting bracket to a sturdy pole or wall.
Step 4: Install the pole.
You can use a spirit level to ensure the pole is straight if you’re using a concrete base. Next, mix the concrete according to the manufacturer’s instructions and pour it over the pole stays straight. Before you move on, let the concrete dry completely.
Step 5: Assemble the solar streetlight
While the concrete dries, you can assemble the solar streetlight. The solar panel goes on top of the pole using the screws provided. Connect the solar panel to the battery, then the LED light to the battery. Keep all connections secure and follow manufacturer instructions.
Step 6: Mount the light.
Once the concrete dries, it’s time to mount the light on the pole. If you are using a concrete base, place the light on top of the pole and secure it with the provided screws. You’ll need the right tools to mount the light if using a bracket.
Step 7: Test the light.
Before installation, it’s essential to test the light to ensure it functions correctly. Turn on the light and check that it produces light. Check all the connections and charge the battery if it won’t turn on.
Step 8: Maintenance and Troubleshooting
Once the light is installed and functioning correctly, it’s essential to perform regular maintenance to ensure it continues to work efficiently.
This includes cleaning the solar panel and checking for any damage or wear and tear. Also check solar street light remote control manual to learn more.
You can contact customer support for help if you run into any issues with the light.
Read Also: How Do Step Solar Lights Work Outdoors? Useful Tips For Outdoor Solar Lights
How long does it take to install a solar street light?
The time it takes to install a solar street light varies depending on factors. There can be many factors, like the installation site and the installer’s experience. However, on average, the installation process takes a few hours to complete the installation process.
Are solar street lights worth it?
Yes, solar street lights are worth it. They provide a sustainable and cost-effective lighting solution, as they are powered by renewable energy from the sun. Additionally, solar street lights require little maintenance and last a long time.
Read Also: Top 10 Solar Lighting Systems For Home: Tested And Compared On 2024
In conclusion, installing Philips solar street lights is a simple and straightforward process that can bring numerous benefits to your community. These lights are eco-friendly and efficient. They are ideal for urban illumination, making them a top choice.
Follow these steps to install Philips solar street lights and contribute to a sustainable future.
Read Also: Municipal Solar Street Lights For Parks: Are Solar Street Lights Worth It?


