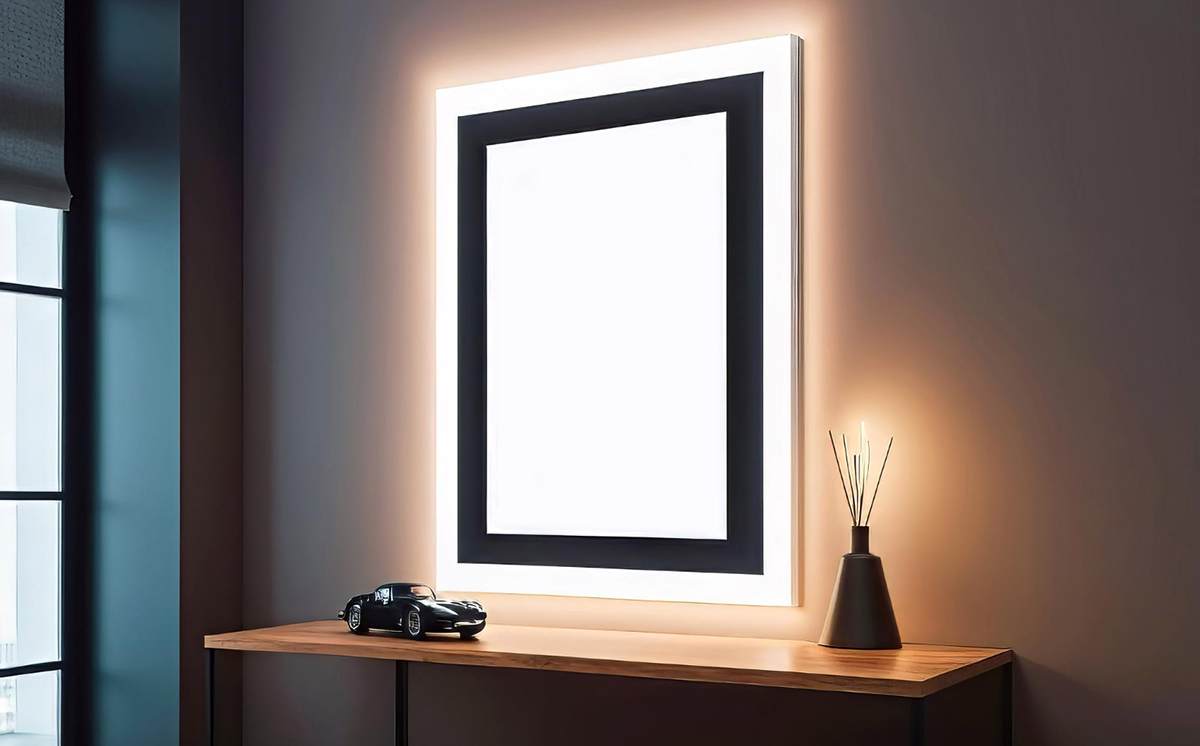
Lighting is an important component of any successful art project. But what if you don’t have traditional wiring for picture lights? LED picture lights offer a fantastic solution, bringing flexibility and ease of installation.
But what if hardwiring a light fixture seems too daunting? Don’t worry! There are great ways to install picture lights without electrical work.
Why choose a non-hardwired approach? It could be because you rent, want a quick and easy solution, or prefer their flexibility.
In this blog, we’ll cover two simple ways to achieve stunning results. Also, how high should a picture light be hung above a picture? What is the rule of thumb for picture lights?
Whether you prefer battery-operated picture lights, wireless picture LED Lights, or a versatile plug-in picture light – we will cover.
2 Ways to Install a Picture Light Without Hardwiring
What’s the best way to get picture lights to work without heavy-duty wiring? There are two simple choices: battery-powered lights and plug-in ones. They can illuminate your art efficiently and without effort.
Battery-operated picture lights
A battery-operated picture light is great for renters or anyone looking for a versatile solution. They’re entirely wire-free and portable, so there’s no stress about looking for plugs or dealing with wires.
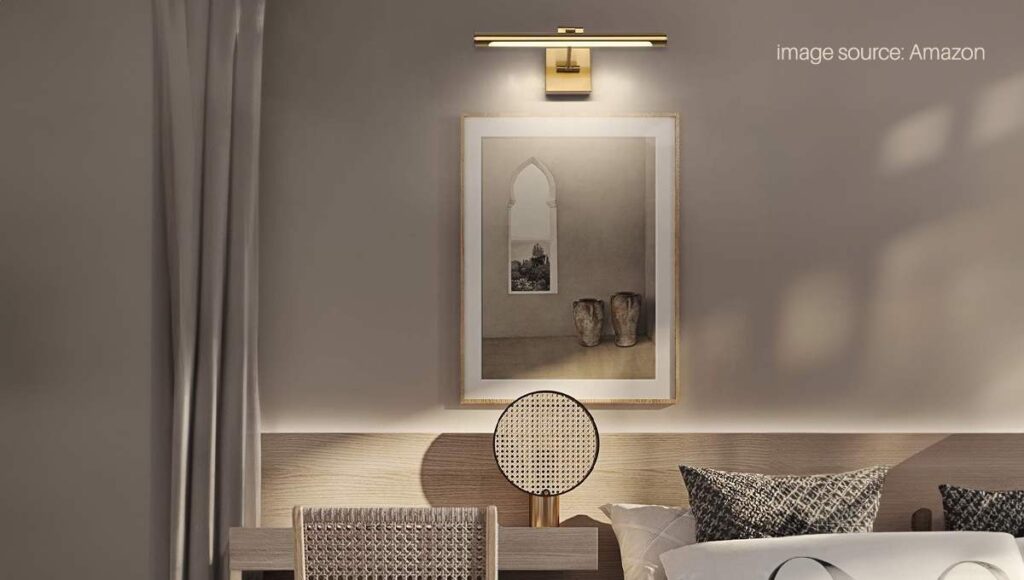
Here’s how to install a battery-operated picture light:
Choose your light and location:
Pick a picture light that works on batteries and matches your art and home style. Look at the light’s size and the type of battery it requires. Several lights use AA batteries, but some might need rechargeable ones or different types. Decide on the light’s placement. The perfect position would be right above the art piece, lining up in the middle horizontally.
Attach the light (see manual for instructions):
You can fix batteries to the wall with screws or base plates. Refer to the instructions to safely secure the light fitting.
Installing batteries and setting preferences:
Follow the manual to insert the batteries into the light. If the light comes with a remote, you might want to adjust the brightness and personalize light settings now. Certain remotes come with daily timer settings, letting you schedule automatic on-off times.
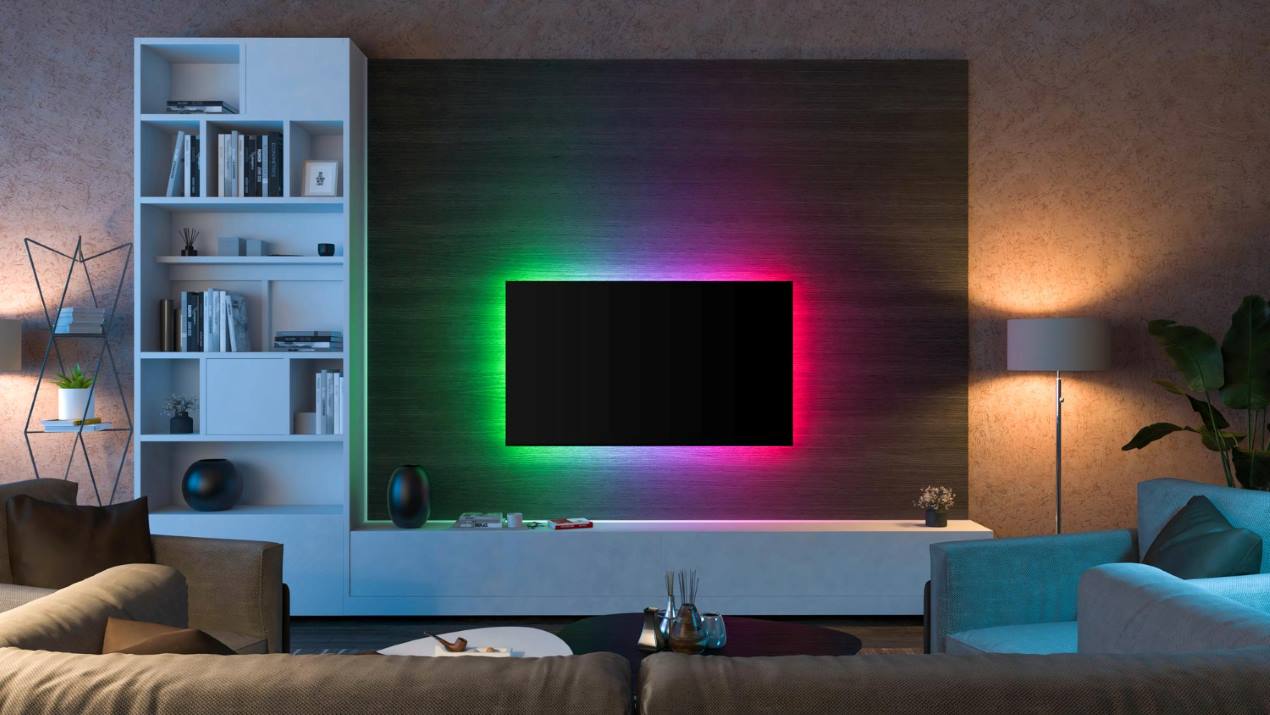
Read Also: 6 Best way to install behind the TV LED lights
Plug-in Picture Lights
A plug-in picture light can be an excellent constant source of light. They’re suitable for illuminating large art pieces, too. Let’s see how to put one in place:

- Hang your art on the wall. Hanging art 60 inches from the center is recommended.
- Position the light and mark its placement. Put the plug-in art lamp between your art and the wall and mark the placement with a pencil. You must remove the artwork from the wall.
- Mount the light on the wall. You can hang the art lamp on the wall where you marked it with the screw kit. Check it with a level.
- Choose an outlet and hide the cord. Pick where you’ll plug in the picture light. Bundle the light wire with a cord protector. Be sure to remove the sticky part on the back of the protector before wrapping it around the wire.
- You should attach the protector to the wall in line with your artwork. A level can help you make sure. Cover the protector with paint using an angled brush. Please select a suitable color that matches the wall to ensure it blends in seamlessly.
- Plug in the lights and enjoy!
Here are two methods for installing a picture light without the need for hardwiring. With careful planning and effort, you can enhance the aesthetics and functionality of your artwork.
Why aren’t hardwired picture lights always the best option?
A hardwired picture light provides a tidy and cohesive look. The original text is error-free. But these fixtures do have some downsides. These features make the wireless and plug-in versions more appealing:
Cost & Difficulty of Setup: Usually, an electrician is needed to install a hardwired picture light. That makes the task longer and more expensive. A hardwired solution may not be the best option for budget-friendly and easy lighting.
Flexibility Issues: Once you’ve hardwired the light, changing its position involves fixing the drywall and maybe rewiring. That can stop you from rearranging your art or lighting as you please.
Renting Problems: Your landlord might not allow hardwiring changes if you are renting. Lights that are wireless or plug-in avoid this problem.
Limited Styles: Hardwired lights usually have a certain look. Today’s battery-powered and plug-in lights can fit any decor. So clients can choose from different styles.
Possible Damage: You will need holes in your wall even if you do it right. That carries a small chance of sustaining damage or requiring repair later on.
So, you want a solution that’s simpler, less expensive, suitable for customers, and has multiple design options? Battery-driven or plug-in picture lights usually beat hardwired ones for these needs.
What is the rule of thumb for picture lights?
The rule of thumb for the size of your artwork’s light is typically 1/2 to 2/3 of the artwork’s total width, including its frame.
This rule ensures a balanced and even light spread over your artwork; it provides the light fixture is neither too small nor too big, appearing out of sync or overshadowing the art piece.
It’s good to start with the 1/2 to 2/3 width rule, but don’t hesitate to try out different sizes of picture lights. Your personal taste matters and the size of the artwork might require such adjustments.
For big artworks, a stronger light might be needed or even multiple picture lights. If your room has high ceilings, a slightly wider picture light could help keep a proportionate look.
Read Also: LED strip lights in shower! Are LED lights safe in the bathroom?
How high should a picture light be hung above a picture?
Try to place the artwork’s light roughly 6-8 inches above the top edge. In addition to providing even lighting, this spacing prevents bright reflections on the art piece.
Angle Matters:
Point the picture light at a 30-degree angle. These moves the spotlight to the artwork, reducing light bouncing off glass or shiny areas.
Customization:
Your artwork can look better if the height is changed. If the artwork is tall, it is possible to move the light upwards. This helps light up the entire picture.
Before you start anything, turn off the lights. Try different light spots and directions.
This helps you find the best place that lights your artwork and reduces brightness. Every artwork and room is unique so the perfect lighting setting will vary.
Read Also: How to Wire Auxiliary LED Lights in 40 Minutes or Less
In conclusion, do you desire easy-to-use battery operated picture lights or durable, chic plug-in lights? You possess the knowledge to bring your art to life. Say goodbye to tricky hardwiring!
Take advantage of these strategies, and your room will change for the better. Your top artworks will bask in the charm they deserve. Set to kick off? Bring your art set to life!
