Want to make your home safer with security lights? A Home Zone security light might be the right choice for you. But you are not aware how to install home zone security light? You’ll love this easy-to-follow guide whether you’re a DIYer or a first-timer. You don’t have to worry if you have problems installing or troubleshooting this light from Costco! If you need help, we’re here to help.
In this blog post, I will guide you on how to install home zone security lights. You will receive all the information you need to ensure a successful and effective setup. So let’s take a closer look at how to install your Home Zone security light.
What Is The Importance Of Home Zone Security Led Lights?
Home Zone Security LED lights are an ideal way to improve home security. Here are some reasons why:

- A bright light can make it more difficult for criminals to operate in the dark. It is more likely that they will move on to an easier target when they see a well-lit area.
- You can see what’s going on around your home with LED lights, inside and out. You can prevent crime and keep an eye on your property by doing this.
- LED lights make it easier to see stairs, walkways, and other hazards, which can prevent accidents.
- An LED bulb is more energy-efficient than an incandescent bulb. You can save money on your energy bills by doing this.
- An LED light is much more durable than a traditional incandescent bulb. Furthermore, they are less likely to break if hit or dropped.
Home Zone Security LED lights provide additional benefits in addition to security. It is possible to match your home’s decor with them. Additionally, they are easy to install and can be used anywhere.
Your home will be more secure with Home Zone Security LED lights. It is an affordable, effective, and convenient solution.
How to install home zone security light: A 6-Step Guide
Step 1: Gather your tools and materials
Before you start, make sure you have everything you need.

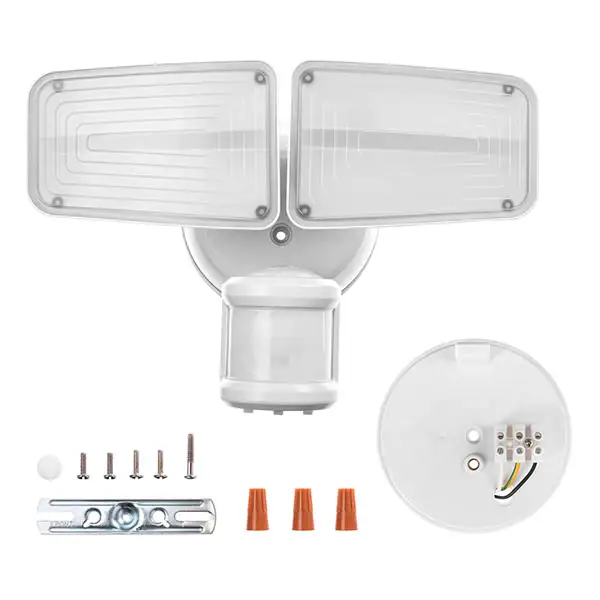
You’ll need a Phillips head screwdriver, wire strippers, electrical tape, and a ladder. As for the materials, you’ll need the security light itself, mounting screws, and wire connectors.
Step 2: Choose the right spot
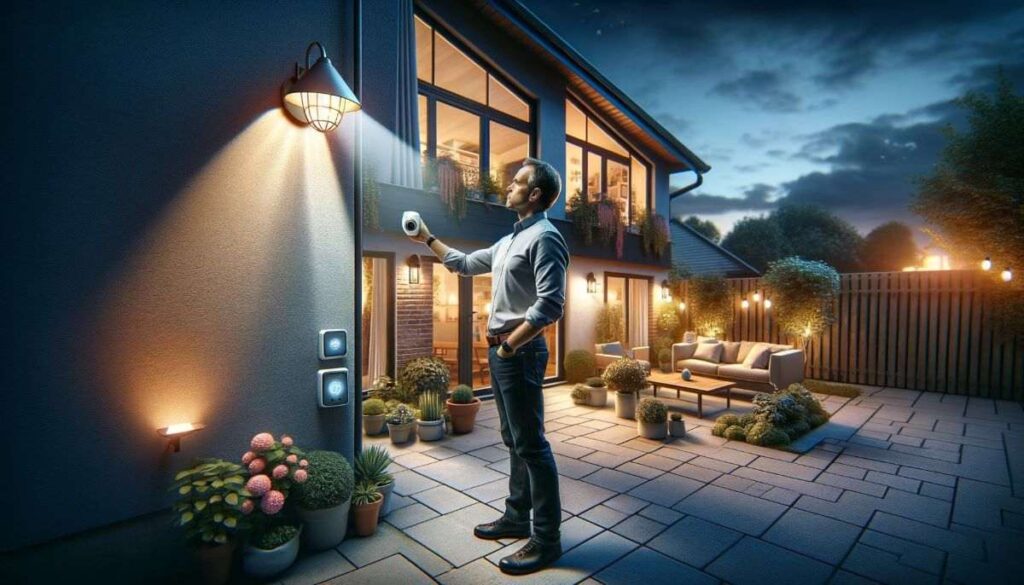
Make sure you determine the best location for your security light before mounting it.

Make sure it is not obstructed by any objects or plants that may block its motion detection capabilities. Also, ensure that the light covers the desired area and angle for maximum effectiveness.
Step 3: Turn off the power supply
Safety always comes first! Before doing any electrical work, turn off the power supply to the designated area.

This will prevent accidents or injuries during the installation process.
Step 4: Mount the light
Mount the light on your chosen spot with a ladder. Use your screwdriver to secure it in place with the mounting screws provided.

Step 5: Connect the wiring
You will need to connect the black wires of the light to the black wires of the electrical box and secure them together using wire connectors. Do the same for the white wires and then connect the ground wire.

Step 6: Test it out
Once everything is connected, turn on the power supply again to test your updated security light. If it doesn’t turn on, double-check all wiring connections.
How to Wire a Security Light?
You can handle wiring a security light confidently with the right steps. Our step-by-step guide will help you light up your home’s exterior easily:
Remove the Old Fixture: Remove your old light fixture first. Take a look at it to see what you can learn about the setup. Remember to keep the existing wires in place as you’ll use them for your existing lights.
Install a New Junction Box: Next, you’ll need a weatherproof junction box for your updated lights. This box keeps the wiring safe from moisture. If your model comes with an automatic vent opener, it’s even better as it regulates humidity.

Prepare for the New Light: Now that the new installation has begun, it’s time to get ready. This may involve some exploration, ensuring safety, and drilling new holes. Make sure the wire ends are clean, untwisted, and stripped before you connect them.
Connect the wiring: Safely connect the necessary wires – live (hot), neutral, and ground. This step is crucial for your security light’s safe operation.
Read Also: What Happens If You Unplug A Security Camera?
Secure the Light Sensor: Ensure the light’s base, housing, and junction box all fit together well. Seal the cable entry point so that water cannot enter. You can adjust the light sensor to cover the area you want. The light pattern may need to be fine-tuned in the evening.
Adjust the Settings: It is now time to set up the motion sensor’s sensitivity, range, and duration. Check the sensor’s test mode to ensure it is working properly. You may need a bulb changer in the future if you need to change bulbs.
This guide will show you how to install and wire a Homezone security light that will enhance the security and visibility of your home.
Read Also: How To Add Blink Camera To Homekit In 6 Simple Steps? Find Out How!
FAQ: How to install home zone security light
How do I reset my home zone security light?
To reset your Home Zone security light, follow these steps:
- Turn off the light power supply.
- Wait for a few seconds, then turn the power back on.
- Locate the reset button on the light fixture or the control panel.
- Press and hold the reset button for about 10 seconds until the light flashes or the indicator light changes.
- Release the reset button and wait for the light to reset itself.
- Test the light by turning it on and off to ensure it functions properly.
Consult the manufacturer’s instructions or contact customer support if the light won’t reset.
Read More: How To Block Neighbors Security Camera: 3 Proven Solutions
Do you need an electrician to install a security light?
It is recommended to hire a licensed electrician to install a security light. If you don’t know anything about electrical work or don’t know the wiring and connections, this is especially important. An electrician ensures that the installation is safe and compliant.
What cable to use for an outside security light?
The best cable for an outside security light is a UF (Underground Feeder) cable or an outdoor-rated extension cord. The cables are designed to withstand outdoor conditions and protect the security light wiring.
Can You Wire a Security Light to a Plug?
No, you cannot wire a security light directly to a plug. Security lights are typically hardwired into your house’s electrical system and require a dedicated circuit. If you wish to ensure the safety and proper installation of a security light, you should consult with a licensed electrician.
How do you connect outdoor lights to power?
The first thing you need to do is find an outdoor electrical outlet or junction box. You can run outdoor-rated electrical cable from the outlet or junction box to the lights. Lastly, you can connect the wiring of the lights to the cable, following the manufacturer’s instructions and ensuring proper grounding.
What size of wire do I need for a security light?
A security light’s wire size depends on its wattage and distance from the power source. In general, a 14-gauge wire is sufficient for low-wattage security lights up to 100 feet away. It is recommended to use thicker wire, such as 12-gauge or even 10-gauge, for higher-wattage lights and long distances to ensure proper power transmission.
How do you hide outdoor light cables?
There are several ways to hide outdoor light cables. You can bury them underground using a trenching tool or conduit. You can route them behind landscaping features or structures, or use outdoor cable concealers.
Read More: Are Wired Or Wireless Security Cameras Better For Home? Read First Before Installing It.
In conclusion, home zone security lights require attention to detail and careful consideration. For safety and proper installation, hire an electrician. Install outdoor light cables according to manufacturer instructions and hide them effectively for a clean and professional look.


