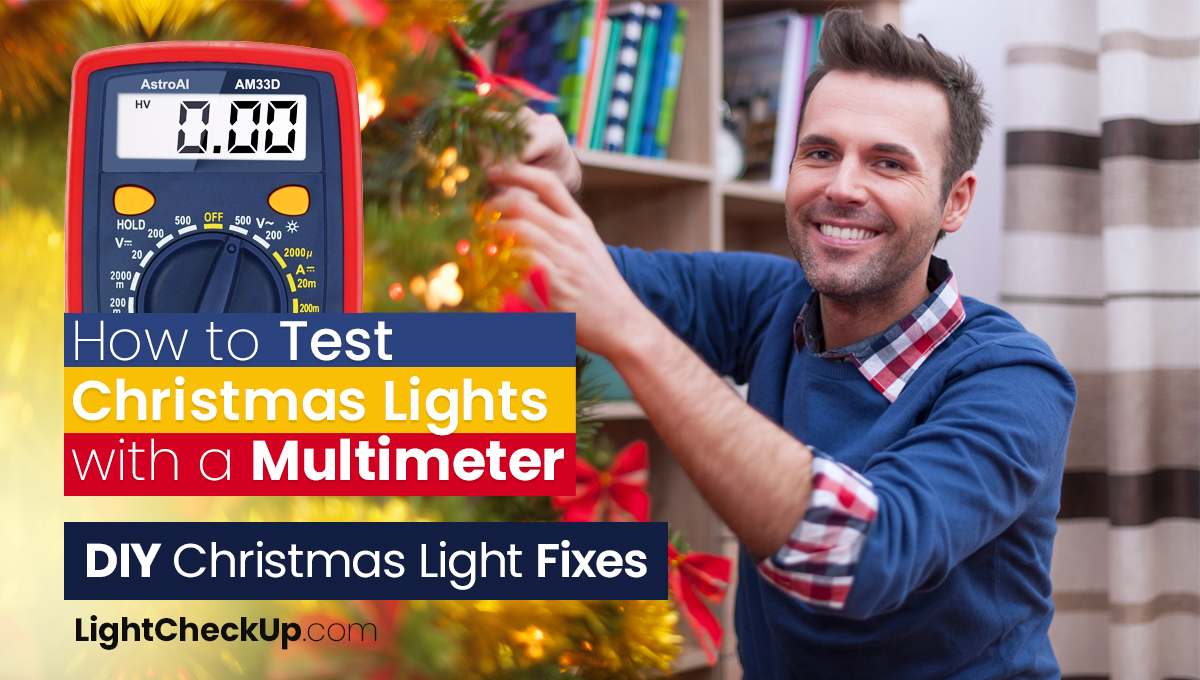
It’s almost Christmas time, which means Christmas lights shine everywhere. However, you discover a bad bulb on the Christmas lights. But you don’t know how to test Christmas Lights with a Multimeter? Then I am here to help you fix it.
It’s time to decorate, but your lights don’t work. Frustrating, right? That’s where your trusty multimeter comes in. You can use it as a magic wand to fix Christmas light tester-led troubles. There are several YouTube tutorials on how to test Christmas lights with a multimeter, but let me simplify it for you.
Think of a multimeter as your DIY Christmas light tester. It helps you find out which bulb’s being naughty or pleasant (I mean, which one’s working or not). Don’t worry if you don’t have a fancy Christmas light tester. Your multimeter can measure voltage.
You can find out what’s going on with your Christmas lights using a multimeter, even if the fuses look good. Keep your holiday spirits high and let your lights twinkle! Let’s dive into how to become a Christmas light testing pro with your multimeter.
Ensure you have all the necessary tools
How to Test Christmas Lights with a Multimeter? You can use a basic model to perform many household electrical tasks if you don’t already have one. You’ll need replacement bulbs in case of any burnout. Your Christmas lights need to be of the right type and voltage.
In the plug, a screwdriver is needed to open any compartments. If the fuse needs to be removed or replaced, use a fuse puller or needle-nose pliers (optional).
Tape for electrical repairs or insulation: If you’re handling older, more fragile lights, wear gloves and safety glasses (optional).
Start with safety precautions
- Before you start testing, make sure the lights are unplugged. There is no risk of electric shock.
- First, look for obvious damage like frayed wires, broken bulbs, or loose connections.
- Wear gloves and safety glasses if you have them. It’s especially important when you’re handling glass bulbs.
- Keep your work area properly lit so you can see what you’re doing. You’ll avoid accidents if your workspace is well-lit.
- If you’re new to using a multimeter, read the instructions first. You need to know how your model works to test it accurately.
Read Also: Color Christmas Lights- 5 Easy Hacks To Have The Perfect Christmas Decoration
Test the string for continuity
How to set the multimeter to continuity mode:
Use a multimeter that has a continuity setting (usually a diode icon). Plug the probes of your multimeter into the female and male ends of your Christmas lights.
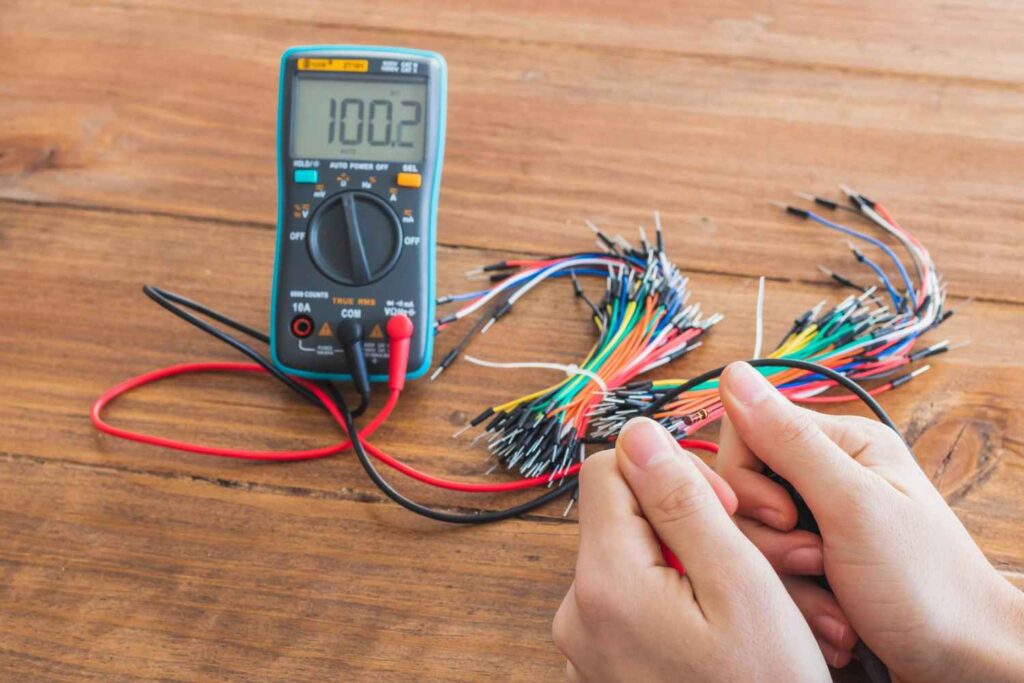
If it’s a continuous circuit, you’ll hear a beep or see a reading (sometimes close to zero).
If the readings aren’t zero, try these things:
If the multimeter doesn’t read zero or is close to zero, there may be a break in the circuit. You can check each section of the lights, especially the connection points. If continuity is lost in sections, replace or repair them.
Replace fuses and test them
Locate and test for fumes
It is common to find fuses in the plug of the light string. Check the continuity of each fuse using a multimeter. If a fuse is in good condition, a low resistance reading will be indicated, whereas if a fuse is blown, no continuity will be indicated.
Replace Blown Fuses:
Open the plug’s fuse compartment carefully. You can use a fuse puller or needle-nose pliers to remove it. Fuse it with a new one of the same size and rating.
Read Also: Want To Light Up Your Home: Must Read, How To Install Roof Ridge Christmas Light Clips
How to identify and replace faulty bulbs

How to test individual bulbs:
You can check continuity across the bulb’s terminals with a multimeter. It should have a low resistance reading if it’s working.
Use a group test.
Remove bulbs along the string at different intervals. Check for continuity between these points to figure out where the faulty bulb is.
Bulbs that don’t work:
Once you find the faulty bulb, replace it with a new one. You’ve got to make sure the new bulb is in there securely.
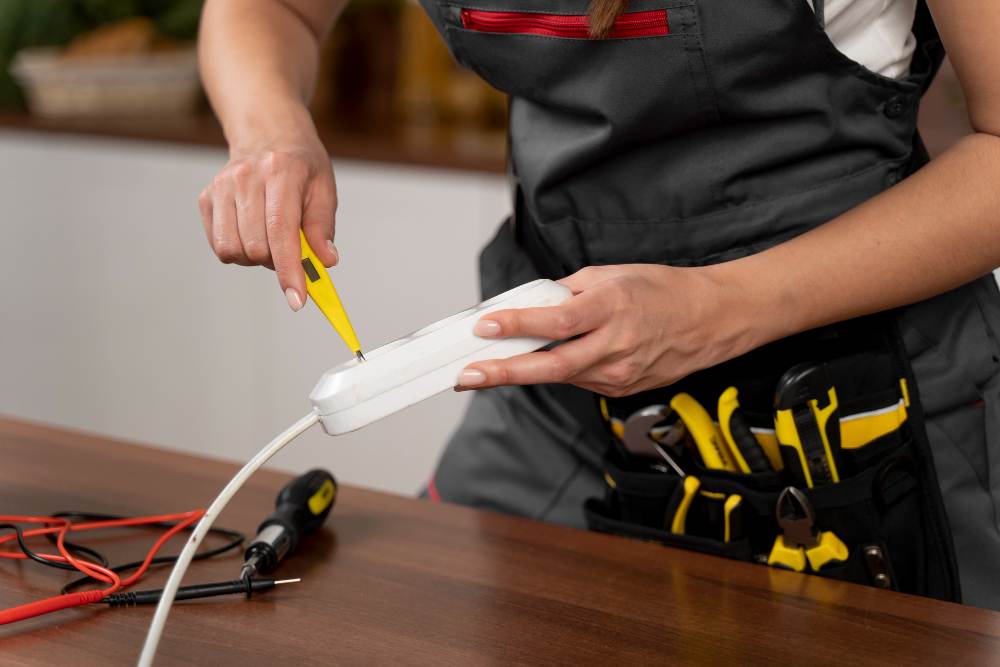
How to Test Christmas Lights with a Multimeter: Fix faulty plugs and wires
Wire and plug inspection:
Make sure the wires aren’t fraying or cut. Look for damage or wear on the plugs.
Component repair or replacement:
Use electrical tape to insulate exposed wires. If you can’t fix the plug, consider replacing it or the whole string.
Last-minute checks and maintenance
Testing After Repairs:

When all the repairs are done, test the whole string again to make sure everything’s working. Turn on all the lights to make sure they’re working.
Maintenance tips:
- Regularly inspect your lights for wear or damage.
- Store your lights properly after the season to prevent damage.
- Check the wiring before you install the bulbs.
Read Also: How To Decorate Pure White LED Christmas Lights: Must Try These 7 Ideas
In conclusion, I hope you can fix your how to Test Christmas Lights with a Multimeter problem now. Make sure your Christmas lights are safe and bright. The best way to ensure your lights are safe and ready for the holidays is to regularly check them with a multimeter.
Don’t forget to check your lights periodically. This step goes a long way towards making your holiday season both merry and safe. It is time to light up our homes safely for the holiday season!


Average Rating