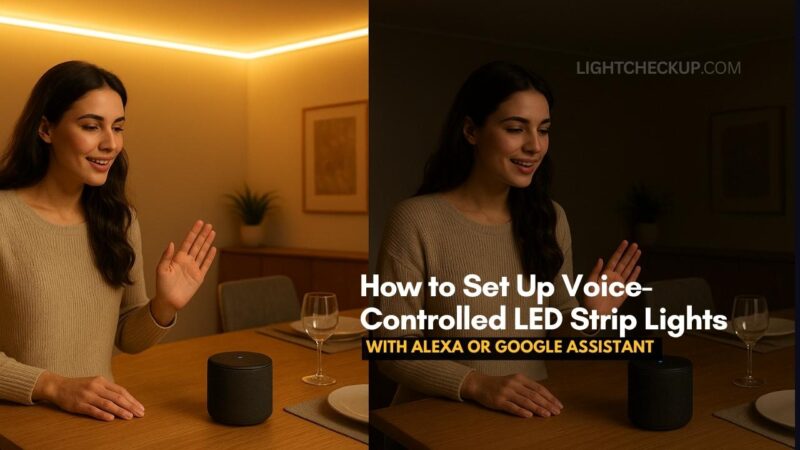
You walk into your living room and say, “Hey Alexa, set the lights to movie mode,” and instantly, your room transforms with the perfect ambient lighting. No fumbling for switches, no reaching for your phone – just pure convenience. Welcome to the world of voice-controlled LED strip lights.
Here’s a fascinating fact: smart home device adoption has skyrocketed, with over 60% of households now using at least one voice assistant. And LED strip lights?
They’re the fastest-growing category in smart lighting. If you haven’t jumped on this trend yet, you’re missing out on some seriously cool home automation.
What Are Voice-Controlled LED Strip Lights?
Voice-controlled LED strip lights are flexible lighting strips that connect to your home’s WiFi network. You control them through voice assistants like Amazon Alexa or Google Assistant. These smart LED strips can change colors, dim, brighten, and even sync with music – all through simple voice commands.
I’ve tested dozens of these lights, and the technology has come incredibly far. Modern voice-controlled LED strip lights offer millions of color combinations and respond to commands in under a second. They’re not just lights; they’re mood creators.
Why Choose Smart LED Strip Lights?
The benefits go beyond the “wow” factor. Voice-controlled LED strip lights save energy, last longer than traditional bulbs, and offer unprecedented customization. You can schedule them to wake you up gradually, set the perfect dinner ambiance, or create a party atmosphere with color-changing effects.
Plus, installation is surprisingly simple. Most people complete their first setup in under 30 minutes.
What You’ll Need
Before we dive into the setup process, let’s gather everything:
Essential Equipment:
- Smart LED strip lights (WiFi-enabled)
- Compatible voice assistant (Alexa device or Google Home)
- 2.4GHz WiFi network
- Smartphone with the manufacturer’s app
- Power adapter (usually included)
Optional but Helpful:
- LED strip connectors for corners
- Extension cables
- Mounting clips
- Cleaning supplies for surface prep
How to choose Compatible LED Strips?
Not all LED strips work with voice assistants. Look for strips explicitly labeled as “Works with Alexa” or “Google Assistant compatible.” Popular brands like Govee, Philips Hue, and LIFX offer reliable voice-controlled options.
I recommend checking the product description for these key features:
- 2.4GHz WiFi compatibility
- Voice assistant certification
- App control functionality
- Music sync capabilities
- Sufficient length for your space
Set Up with Amazon Alexa
Step 1: Install Your LED Strip
First, clean the surface where you’ll mount the strips. Dust and grease prevent proper adhesion. Peel off the adhesive backing and press firmly along your desired path. Connect the power adapter and plug it in.
Step 2: Download the App
Every voice-controlled LED strip light brand has its own app. Download it from your phone’s app store. Common ones include Smart Life, Tuya Smart, and Magic Home Pro.
Step 3: Connect to WiFi
Open the app and create an account. Follow the prompts to add a new device. Your LED strip should enter pairing mode (usually indicated by flashing lights). Select your 2.4GHz network and enter the password.
Step 4: Link to Alexa
Open the Alexa app on your phone. Tap “Devices” then the “+” icon. Select “Add Device” and choose “Light.” Find your LED strip brand from the list. Sign in with your LED app credentials when prompted.
Step 5: Name Your Lights
Give your voice-controlled LED strip lights a memorable name. “Bedroom strips” or “TV backlights” work better than generic names. Alexa will use this name for voice commands.
Set Up with Google Assistant
Initial Setup
The first three steps mirror the Alexa process: install strips, download the app, and connect to WiFi. Google Assistant setup differs slightly in the linking process.
Linking to Google Home
Open the Google Home app. Tap the “+” button and select “Set up device.” Choose “Works with Google” and find your LED strip brand. Sign in with your app credentials. Google will automatically discover your lights.
Creating Rooms
Google Home organizes devices by room. Assign your voice-controlled LED strip lights to specific rooms for easier control. You can say “Turn on bedroom lights” instead of naming each device.
Voice Commands That Work
Once connected, these commands work great:
Basic Commands:
Advanced Commands:
Troubleshooting Common Issues
WiFi Connection Problems
Your smart LED strip lights need a 2.4GHz network. Many modern routers broadcast both 2.4GHz and 5GHz. Check your router settings or create a dedicated 2.4GHz network for smart devices.
Lights Not Responding
If voice commands stop working, check the app first. Can you control the strips manually? If yes, re-link the skill in Alexa or Google Home. If no, power cycle the strips by unplugging for 10 seconds.
Flickering or Dim Lights
This usually indicates insufficient power. Ensure you’re using the included adapter. Longer strips need more power – don’t exceed the manufacturer’s recommended length without additional power injection.
App Can’t Find Device
Reset your voice-controlled LED strip lights to factory settings. This typically involves turning them on and off multiple times rapidly until they flash. Then repeat the setup process.
Can I cut LED strips?
Yes! Most smart LED strips have designated cutting points marked every few inches. Cut only at these marks. You’ll see copper dots or scissor symbols. After cutting, use connectors or solder to extend or redirect strips.
Do they work without internet?
Voice control requires internet, but most apps offer local control through Bluetooth or direct WiFi connection. You’ll lose voice commands and remote access but retain basic app control.
Read Also: LED strip lights in shower! Are LED lights safe in the bathroom?
Advanced Features to Explore
Music Sync
Many voice-controlled LED strip lights include microphones that sync colors to music. Perfect for parties or enhancing your home theater experience.
Scheduling and Routines
Create automated schedules through your voice assistant. Wake up to gradually brightening lights or have them turn off automatically at bedtime.
IFTTT Integration
Connect your strips to other smart devices. Have lights flash when your doorbell rings or change color based on weather forecasts.
Scene Creation
Save your favorite color and brightness combinations as scenes. Activate them instantly with commands like “Movie time” or “Reading mode.”
Make the Most of Your Setup
Position strips behind TVs for bias lighting that reduces eye strain. Install them under kitchen cabinets for task lighting. Line stairs for safety and ambiance. The possibilities are endless.
I’ve found that indirect lighting works best. Hide strips behind furniture or architectural features. The glow creates atmosphere without harsh direct light.
Remember to experiment with colors and brightness. What looks good in photos might feel different in person. Start conservative and adjust based on your preferences.
Read Also: Stairway Lighting with LED Strip? How to Install It?
Final Thoughts
Setting up voice-controlled LED strip lights transforms your home into a smart, responsive environment. The process is straightforward, and the results are immediately satisfying. Whether you choose Alexa or Google Assistant, you’ll wonder how you lived without this convenience.
Start with one room and expand as you get comfortable. Soon, you’ll control your entire home’s ambiance with just your voice. Welcome to the future of home lighting – it’s bright, colorful, and responds to your every command.
The combination of LED efficiency, voice control convenience, and endless customization makes these strips a worthwhile investment. Your voice-controlled LED strip lights aren’t just illumination; they’re an upgrade to your entire living experience.


