Do you have flickering lights or dimming issues in your home? It might be time to replace your old low voltage light switches, also known as magnetic low voltage (MLV) switches. These switches aren’t the standard anymore, but you can replace them easily.
In this guide, we’ll walk you through the simple process of replacing a low voltage light switches in just five steps!
How to replace low voltage light switches?
Low voltage light switch replacement is a straightforward project that can be tackled by most DIYers. Make sure you stay safe. Here are 5 proven steps:
You’ll need these tools.
Gather your tools before you start:
- Screwdriver (flathead and/or Phillips depending on the switch type)
- Wire stripper/cutter (optional, but recommended for clean wire cuts)
- Replacement low voltage switch (ensure compatibility with your system)
- Non-contact voltage tester (highly recommended for safety).
Turn off the power:
Safety first! Locate the breaker box for your home and identify the circuit that controls the light fixtures connected to the switch.
Turn the breaker switch completely off to ensure no electricity flows through the circuit while you work. Use a non-contact voltage tester to double-check that no power is present at the switch before proceeding.
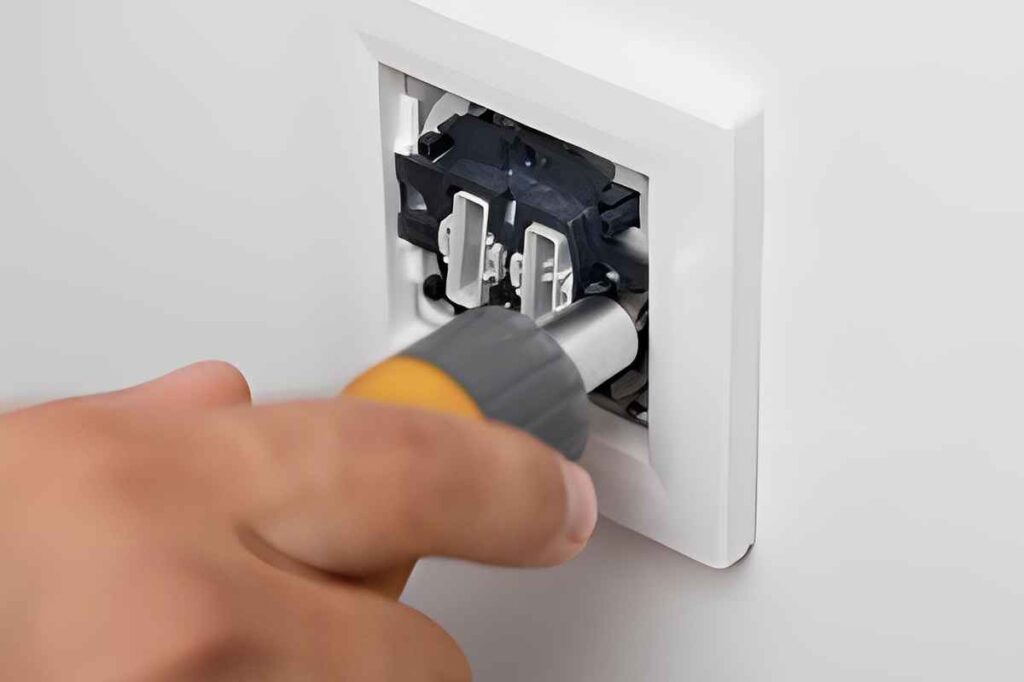
Remove the old switch:
Remove the mounting screws holding the old switch in place. Carefully remove the switch from the wall outlet box. Note the location and connection of the wires to the terminals. Take pictures if needed for reference.
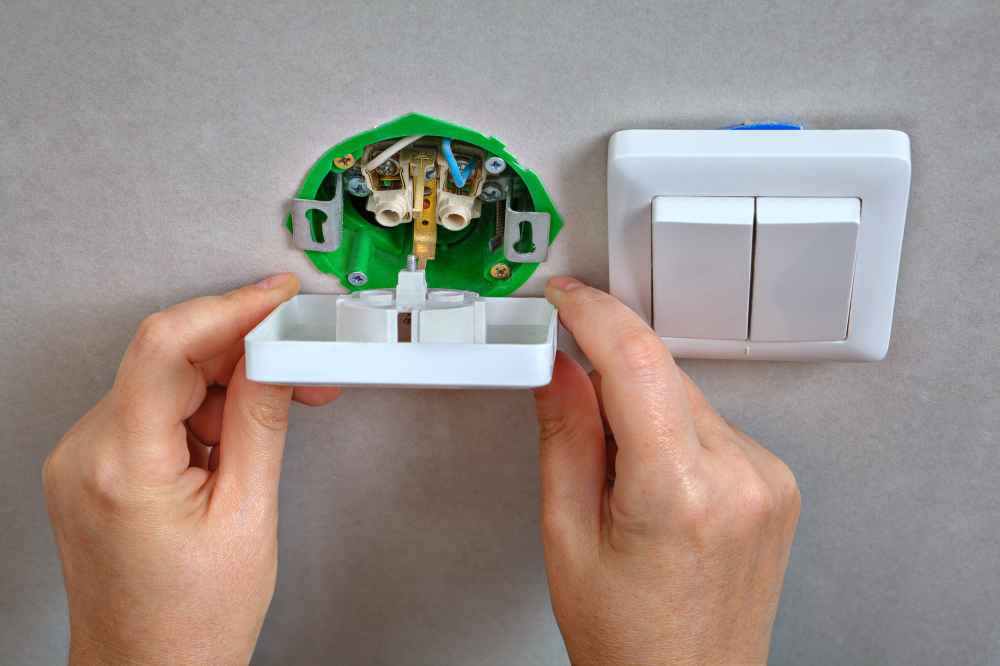
Connect the newly installed Switch:
Make sure the wires are connected to the corresponding terminals on the existing switch, just like they were. Check your connections for accuracy, and secure them with the provided screws on the terminal blocks.
Most switches will say “L” for line voltage, “T” for transformer, or LOAD for light fixture.
Reassemble and test:
Secure the new switch into the electrical box using the mounting screws. Restart the breaker box and test the switch.
Read Also: How To Replace A Mobile Home Light Switch? Mobile Home DIY
Can you use a standard switch on low voltage light switches?
No, you can’t use a 120V or 240V switch to replace a 12V, 24V, or 48V switch.
Regular switches aren’t compatible with these switches, so overheating, transformer damage, and even fire could occur.
Read Also: How To Connect Light Switch Hidden Camera? Easy Tips For Beginners
Why would you need a low voltage light switch?
There are a lot of benefits to low voltage lighting:
- The lower voltage makes them safer, especially in moisture-prone areas.
- You can dim them and control them from anywhere.
- Low voltage systems have a longer lifespan than incandescent lights.
Since they’re less common, replacing components like switches might take more effort.
How do low voltage light switches work for lighting?
Low voltage lighting uses less electricity, usually 12 or 24 volts. This is instead of the usual high household voltage. It starts with a transformer that lowers the voltage from high to lower.
Then, this low voltage passes through a control device like a switch or dimmer to operate the lights. Because the voltage is lower, the wiring required is simpler and cheaper, making installation easier and more flexible.
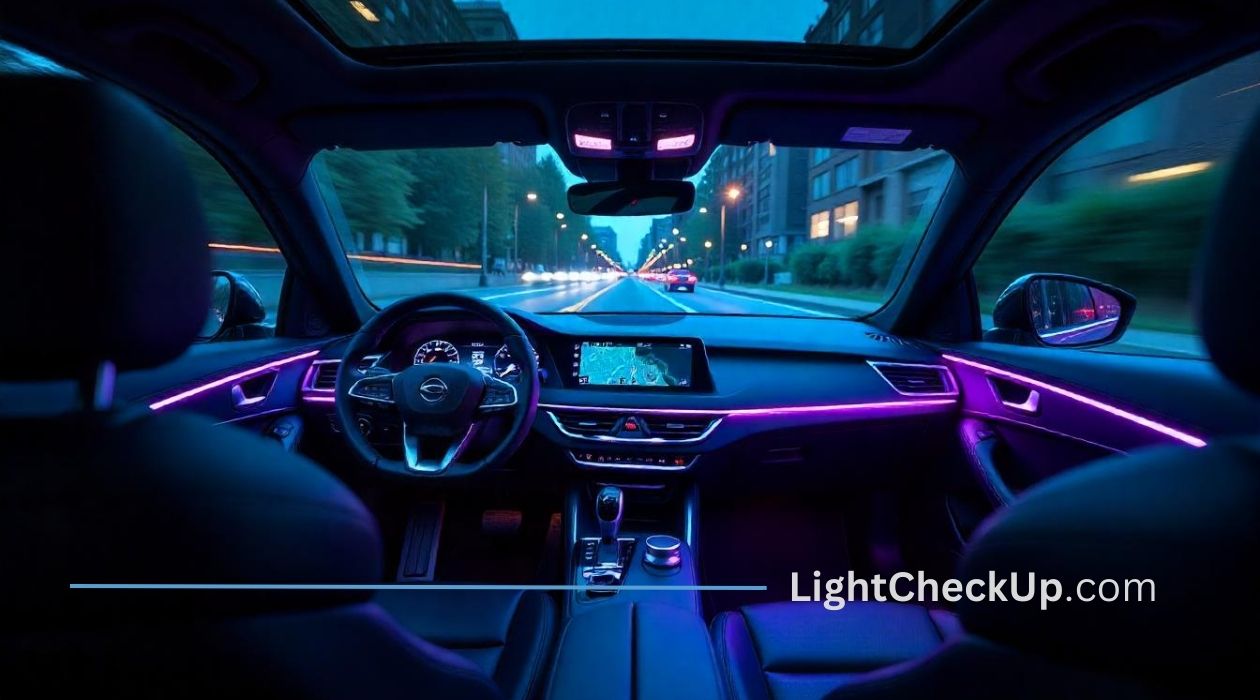
Low voltage switching has main benefits of safety, since it reduces electric shocks, and energy efficiency, as it often uses less power and pairs well with energy-saving LED lights.
It also lets you dim and set up different lighting zones without complicated wiring. These light switches are perfect for outdoor gardens, kitchens, and art displays where safety and energy efficiency are important.
Can a non-electrician change a light switch?
The process of replacing a low voltage light switch might seem straightforward, but working with electricity carries risk.
If you’re not familiar with electrical work or you have any concerns, it’s a good idea to consult an electrician. They’ll make sure the switch is installed safely and properly and address any problems that might occur.
Read Also: 4 Easy Ways To Fix Dimmer Switch Outdoor Problems With Light Fixtures
At the light switch, why do I get 50 volts?
Make sure your low voltage light switch isn’t getting 50 volts and don’t try to replace it yourself. You could get a dangerous reading if you try to fix it without electrical knowledge.
For low voltage lighting problems, it’s best to consult a qualified electrician. They have the expertise and tools to identify the problem and fix it.
Read Also: Do You Know How To Set A Hard-Wired Exterior Light Switch Timer? 4 Simple Hacks
In conclusion, follow these five steps to replace your low voltage Leviton Motion Sensor Light Switch to stop flickering.
With just a screwdriver and a little time, you can easily upgrade to modern switches. This will enable you to enjoy smooth and reliable lighting throughout your space.


Average Rating