Do you love watching movies on your projector but hate those annoying bright spots? These are called projector light bleeds. They can sabotage your movie night. But don’t worry; you are not alone. Light bleed is common in projectors.
When the light from a projector is not even, this is called “projector light bleed.” Sometimes there is an imbalance in the light source. The screen may not always be level. The lens may also sometimes be filthy.
You can fix projector light bleed. First, you can try changing the settings on the projector. You can also try moving the projector or changing the screen. If everything fails, you may need a new projector.
In this blog post, I will explain why projector light bleed happens and how to fix it. I’ll also tell you how to keep projector light bleed from happening in the future.

Projector Light Bleed
Here are the Top 6 Ways to fix projector light bleed:
- Adjust the projector’s settings.
- Change the viewing angle.
- Use a screen with a matte finish.
- Install a bias light.
- Cleaning the lens and filters
- Replace the projector.
How do I adjust project settings?
A few adjustments can improve your projector’s image quality. I have explained in simple way –
Start with the settings panel. Use the remote control or a button on the projector to achieve this. A gear or wrench icon may be included on the button.
The image’s brightness and contrast adjustments must then be located. They are often accessible through a visual menu or display. The range between the projector’s brightest and darkest areas is controlled by its brightness and contrast settings.
The next step is to lower the brightness. The picture will appear dull and washed out. The picture shouldn’t be too light or too dark.
Next, Alter the contrast setting. It will accentuate contrast by emphasizing both dark and light areas. Any light that escapes around the sides of the projector or the screen may be concealed in this way.
Finally, activate the dynamic contrast mode. The picture’s brightness and contrast will adapt to whatever you’re viewing automatically with this option. The effect may make the image seem more vivid and realistic.

Projector Light Bleed-image source by Amazon
How do I fix the viewing angle on a projector?
You can improve your projector image’s viewing angles.
Start with a wide-angle projector. The projector’s image will look good even if you’re not there. A matte screen is another option. Because the projector is too bright, the image won’t look bad on the screen.
Finally, you may utilize your projector’s lens shift function. You can move the image on the screen to match where you are sitting with this feature.
Fourth, you may slightly angle the projector. This can help you make the image bigger or smaller for people who are sitting far away or near.
Fifth, you can use a bias light behind the screen. This is a light that shines on the wall behind the screen. This light helps to make the dark parts of the image look more clear and contrasted from different angles.
READ ALSO: Firefly Solar Lights: How They Enhance Your Outdoor Ambiance
How do I clean the projector lens and filters?
Disconnect the projector’s power. Touch it once it’s cooled.
Use a soft, lint-free cloth or a lens cleaner made for electronics. Remove the filter’s cover and take out the filter. Use a vacuum or canned air to clean the filter. Do not wash the filter with water or soap,.
Wipe the lens gently in a circle to get rid of dust or smudges. You will remove the filters as per the manufacturer’s instructions. Then use compressed air or a soft brush to clean them. Take care when cleaning these parts to avoid damage.
Projector Light Bleed
Is matte or satin better for a projector screen?
Which projector screen is better for watching movies or shows? Matte or satin? Matte screens have a flat, non-reflective surface that absorbs light evenly from all directions. Satin screens have a slightly glossy, smooth surface that reflects some light back to the viewer.
Matte screens are good for rooms with a lot of ambient light because they don’t create glare or hot spots. They have a wide viewing angle, too.
However, matte screens tend to have lower contrast and brightness than satin screens because they don’t reflect any light back. This can make the colors look dull or washed out, especially in dark scenes.
Satin screens are good for rooms with controlled lighting because they can produce a brighter and more vivid image than matte screens. They also have a higher contrast ratio, which makes the image’s darkest and brightest areas stand out.
This can make the image look more realistic and detailed, especially in bright scenes. If the projector is displaced or the room is too bright, satin screens can cause glare or hot spots.
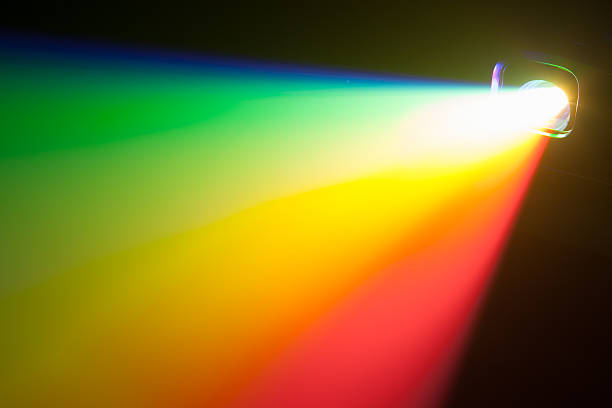
Projector Light Bleed
How do I install a bias light?
A bias light is a light that you put behind your TV or monitor to reduce eye strain and improve contrast. It also enhances viewing. Here are some steps on how to install a bias light:
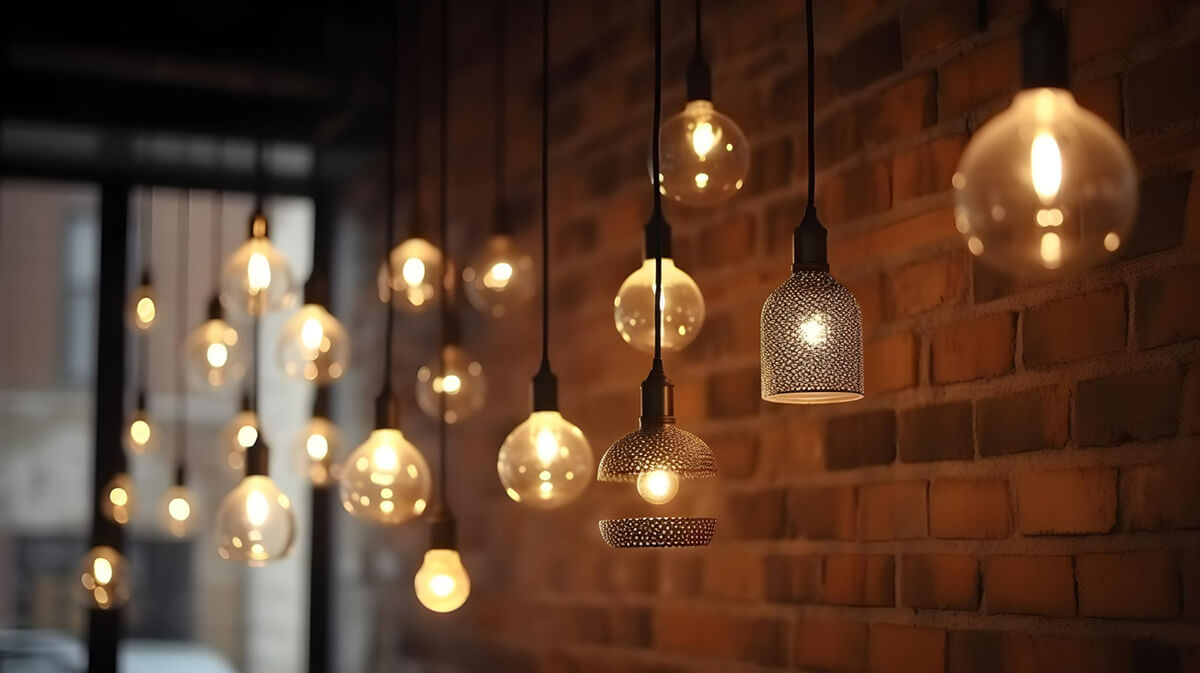
1. Pick a bias light that fits your screen. Bias light kits are available online and in some electronics stores. Bias lights can be LED strips or adhesive-attached panels for screen customization.
2. Connect the bias light to the power source, ensuring the cable length is sufficient for a safe connection without tangling wires.
3. Mount the bias light behind your screen. Follow bias light kit instructions, ensure even distribution along screen edges, and adjust position or angle for optimal effect.
4. Adjust the bias light and brightness. Bias lights can be controlled via apps or colorimeters, allowing for brightness and color adjustments. Ideally, match the white point of your screen at 6500K.
5. Enjoy the biased light! Try out different settings and options to find what works best for your eyes and screen.
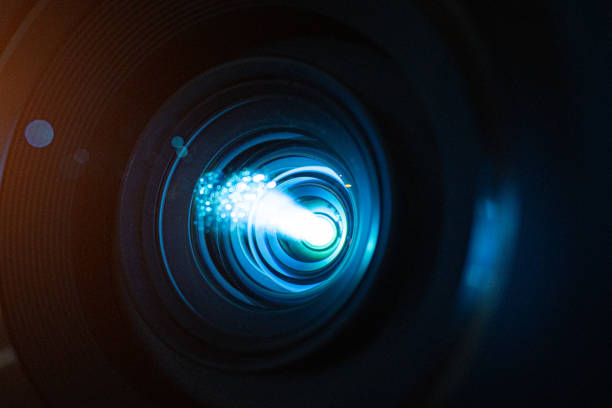
Projector Light Bleed
How to Replace the projector?
Turn the TV off and unplug it to change the projector lamp. Now, find the panel that covers the lamp on the back or side of the TV. It can be unscrewed or slid off.
Then, take out the old lamp carefully. Do not touch the glass part because it might be hot or break. Fit the new lamp in the same spot. Put the panel back and screw or slide it in place. Turn the TV on now. You might need to change some settings or reset the timer for the lamp, depending on your TV.
In conclusion, we have learned how to fix a projector light bleed. Follow these steps for a bright, clear projection without light bleed. Extending the life of your projector can also help you save money and energy. We hope you found this post helpful and informative. Please leave comments or questions below. Thank you for reading!
READ ALSO: Solar Powered Security Light: How To Stay Safe And Eco-Friendly With Solar Security Light?
