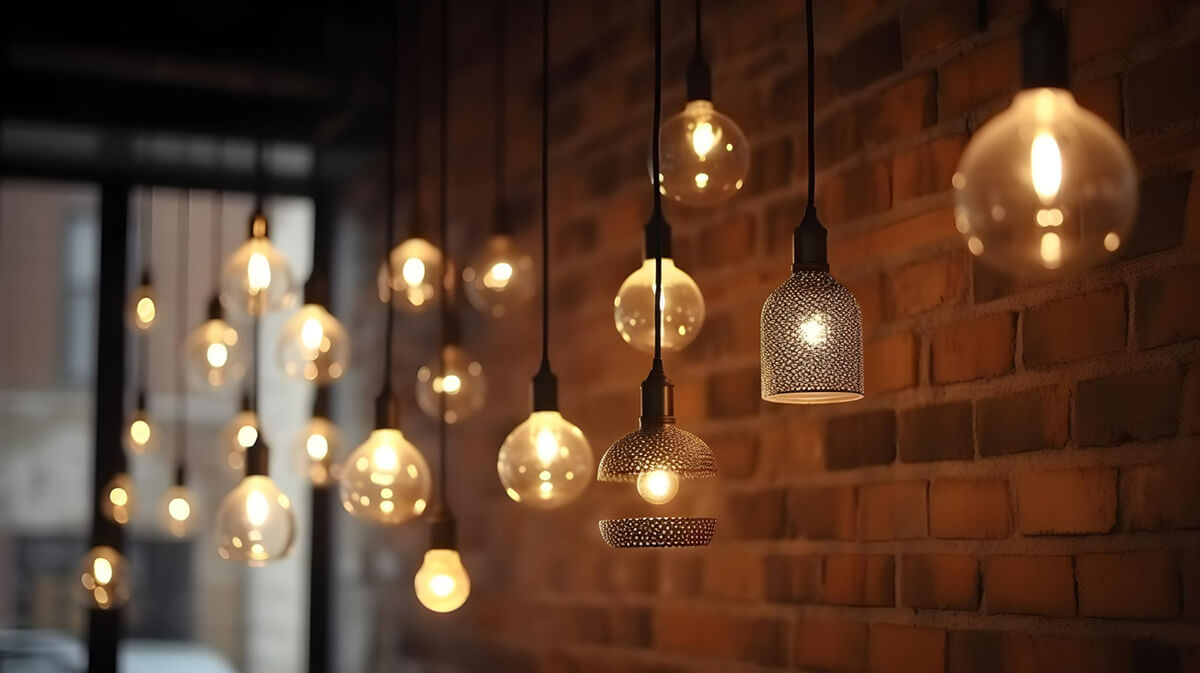
Do you want to create a unique and creative lighting design for your home? Try a bubble lights chandelier. Its playful and whimsical design will make any room stand out. But how to Install a Bubble Lights Chandelier?
A bubble chandelier light is gorgeous, but first you have to know how to install it.It only takes a few simple tools and directions to create your own bubble light chandelier.
In this guide, we’ll walk you through the steps of installing a bubble lights chandelier in your home.
How to Install a Bubble Lights Chandelier?
Before you start, make sure you’ve got all the right tools and materials:
- Bubble lights chandelier
- Ladder
- Electrical tape
- Wire strippers
- Wire nuts
- Screwdriver
- Electrical box
- Electrical wire
- Wire connectors
- Light bulbs
Step 1: Turn off the power.
It’s important to turn off the power before you work with any electrical components. It’ll keep you safe and prevent electrical accidents.
Step 2: Set up the electrical box
If you already have an existing light fixture in the room, you can skip this step. But if you’re installing the bubble chandelier light in the first location, you’ll need to install an electrical box first.
The first step is to turn off the power in the room and remove the old light fixture. Once the electrical box has been installed, follow the manufacturer’s instructions.
Step 3: Install the wires
Next, you’ll need to prepare the wires for installation. Start by stripping the electrical wire ends using wire strippers. Then, use electrical tape to wrap the wire ends to prevent fraying.
Step 4: Connect the wires.
Now it’s time to connect the wires. Start by connecting the black wire from the chandelier to the black wire from the electrical box using a wire nut. Then, attach the white wire from the chandelier to the white wire from the electrical box.
If your chandelier has a ground wire, connect it to the ground wire in the electrical box using a wire nut. If your chandelier does not have a ground wire, you can skip this step.
Step 5: Fix the chandelier.
With the wires connected, it’s time to mount the bubble lights chandelier. Carefully lift the chandelier and align the mounting bracket with the electrical box screws. Secure the chandelier to the electrical box using the screws provided.
Step 6: Install the light bulbs.
Now it’s time to install the light bulbs. You need to use the right type and wattage of bulbs. Screw the bulbs into the chandelier sockets, being careful not to over-tighten.
Step 7: Turn on the power.
With the chandelier installed and the light bulbs in place, it’s time to turn the power back on. Flip the switch and admire your stylish bubble chandelier lights.
Tips for Installing a Bubble Light Chandelier

- Make sure to follow the manufacturer’s instructions for your specific chandelier model.
- If you’re not comfortable working with electricity, hire a professional electrician for installation.
- When choosing a location for your bubble lights chandelier, make sure it is centered and at least 7 feet above the floor.
- Consider LED bulbs for energy efficiency and longer-lasting light.
- To clean your bubble chandelier, use a soft cloth and mild soap. Avoid harsh chemicals or abrasive materials.
Where to Use a Bubble Light Chandelier
You can beautify any room with a bubble light chandelier. You can use this unique lighting option in these places:

Dining room:
Put a bubble chandelier over your dining table for a playful, modern look. This chandelier will cast a soft, diffused light over your dining table. Bubble shape makes this chandelier stand out in any room.
The living room:
Make your living room stand out with a bubble chandelier. This will create a beautiful focal point for your living room, adding a splash of color. Consider a chandelier that has a stylish design and colors that match your decor.
In the bedroom:
Make your bedroom seem dreamy and whimsical with a bubble chandelier. If you prefer a more modern chandelier with rounded bulbs, choose a chandelier with dangling beads and crystals. The color of the wall should complement the room’s decor, or it should be a neutral color that works well with any scheme. Finish off the look with a few matching wall sconces.
Children’s nursery:
Bubble chandeliers can add a sense of fun and imagination to a child’s room. It’s easy to find the right bubble chandelier for the child’s room because they come in a variety of shapes, sizes, and colors. There are a variety of sizes and prices to suit any budget.
Additionally, Bubble Lights add a unique touch of style and whimsy to any room.
An entrance:
It makes a grand entrance in your entryway. An eye-catching fixture like this will make any home feel more welcoming. Your home decor should match your chandelier. Make sure your entryway is the right size and height for the rest of your house.
Read Also: How To Install And Maintain String Light Bulbs DIY: 6 Easy Steps
How do you clean a bubble glass chandelier?
The best way to clean bubble glass chandeliers is with a soft cloth and mild soap. Keep it simple. Don’t use harsh chemicals. Wash the chandelier with soap and a cloth. Make sure the chandelier is thoroughly rinsed with clean water. Use a soft cloth to dry the chandelier.
Can you put a regular chandelier outside?
It’s not recommended to put a chandelier outside since it’s not made to withstand the weather. They’re made to withstand rain, snow, and wind. Plus, they’re usually coated to prevent rust and corrosion.
Read Also: How To Choose String Light Bulbs For Outdoor: 6 Amazing Lights You Must Try
In conclusion,
You may think it is difficult to install a bubble light chandelier. The right tools and instructions can make this a simple and rewarding DIY project. A bubble chandelier light adds modern design and creativity to any home.


