
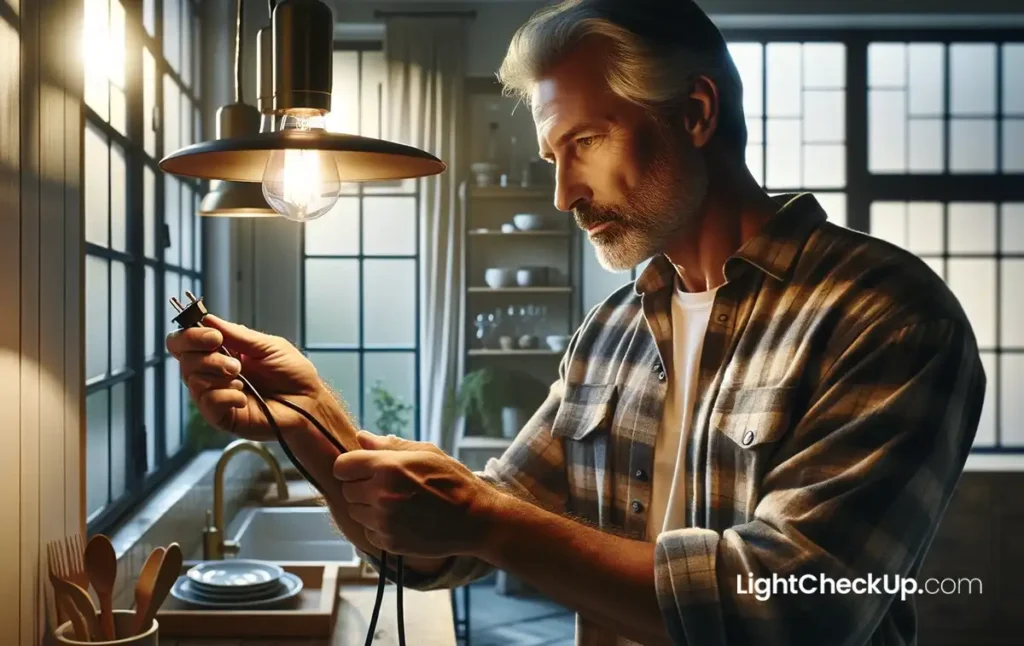
Do you wish that beautiful light fixture could be moved to a different location? An easy way to add plug to light fixture. Once you add plug to light fixture, it is easy to move lighting from one location to another.
In just a few steps, you can easily convert or add a plug to light fixture. It will give you the freedom to revamp your lighting situation.
Whether it’s a Ceiling Light Bulbs, a rustic Pendant Lighting, or any other hardwired beauty – it’s surprisingly easy to convert a hardwired light fixture to a plug-in. Need supplies? A quick trip to Lowe’s for a hardwired to plug-in conversion kit is all it takes.
5 Easy-to-Install Steps to Add plug to Light Fixture
Gather the necessary tools and materials. You’ll need a wire cutter, wire stripper, pliers, electrical tape, a plug (with strain relief), and a hardwired to plug-in conversion kit, which can be found at most hardware stores.
Take the light bulb off the wall and turn off the power. Before you start, make sure the power is off at the breaker box. Follow the directions on the light fixture’s box to take it off the ceiling.
Cut the wires and strip the ends.
Cut the light fixture wires about 6 inches from the base. Then, use a wire stripper to remove about 1/2 inch of insulation from each wire.
Connect the wires to the plug.
Attach the stripped wires to the plug’s terminals according to the conversion kit’s instructions.
- Take the plug off and open it.
- Curve one end of the uncovered and bent lamp wire with needle-nose pliers.
- Connect each lamp wire carefully to the right screw contact on the plug, making sure the colors match:
- Black wire to the brass screw
- White wire to the silver screw
- Ground wire (usually bare copper) to the green screw
- Don’t tighten the screws too much, or the wires could get damaged.
- Close and secure the plug housing.
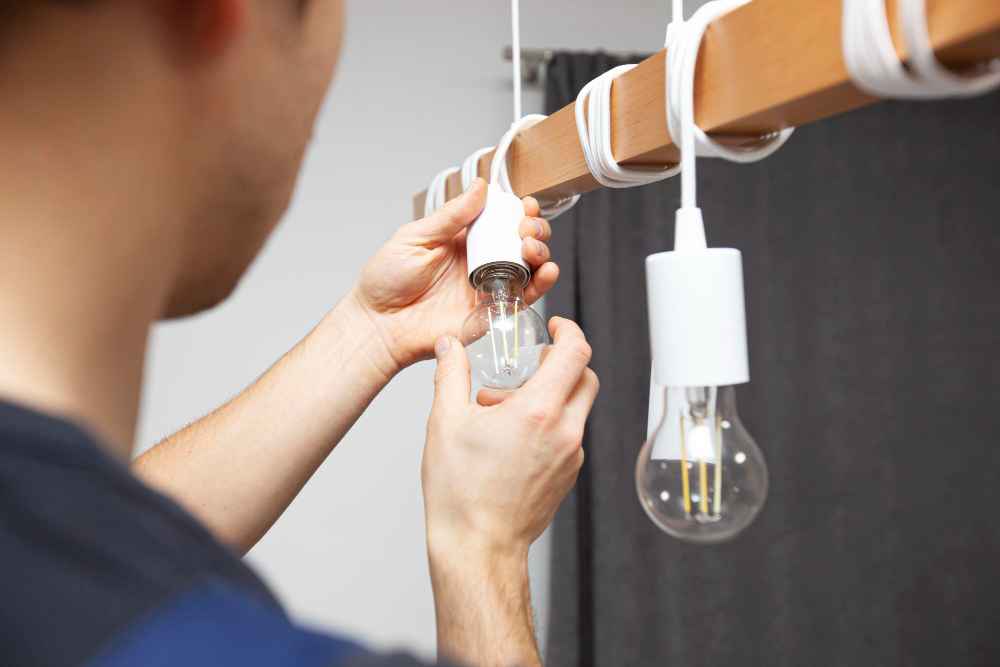
Mount the light fixture.
Put the light in place and add plug to light fixture. Follow the directions that came with the light bulb to attach it back to the ceiling. Next, plug the light source into an outlet close by and turn on the power at the breaker box.
When working with electricity, safety is very important. If you don’t feel fine doing this, you should always talk to a trained electrician.
Read Also: How To Reset Wemo Smart Plug: Easy Fixes For Common Issues
Why do we need to add plug to light fixture?
A plug might be useful to add to a light fixture for the following reasons:.
- First, installing a plug makes it easy to move the light bulb around your house without having to replace it. This could be useful if you rent or like to change your style a lot.
- Functionality: If your light bulb is in a bad spot, like above a piece of furniture, you can move it to a better spot by adding a plug.
- As far as looks go, adding a plug to a light source can sometimes make a room look better. For instance, if you want to hang a hanging light from the ceiling but there isn’t an electrical outlet where you want to hang it, you can add one.
Read Also: Want To Light Up Your Lamp Repairs Knowledge: Troubleshooting Antique Glass Lamp Problems
How do you convert a hard wired light fixture to a plug in?
The steps to change a hardwired light fixture to a plug-in are as follows:
- Get the things and tools together. Lamp wire, a 15-amp light duty plug, wire connectors, wire strippers, electric tape, screwdrivers, a utility knife, needle nose pliers, scissors, and a measuring tape are some of the things you’ll need.
- Find the swag hook and figure out how long the lamp wire needs to be to reach it.
- Get the tools together and cut the lamp lines to the length you want.
- Remove ¾- to 1 inch of each lamp wire with the wire cutter. Then, twist the wires that are left out together.
- Take the plug off and open it up. Then, use needle-nose pliers to curve one end of the uncovered and twisted lamp wire. It’s important not to overtighten the screws that hold the lamp wires to the plug. Put the plug away and close it.
- Find the neutral (white) and hot (black) wires at the base of the light bulb. Loop the green ground wire into the base and set it away for later use.
- Connect the last two lamp wires to the hot and neutral wires, and then put wire caps on top of them. Use electric tape to hold the link tight.
- Plug in your new light bulb and hang it on the swag hook!
Remember that working with electricity can be dangerous. If you’re not sure you can do this, you should always talk to a qualified electrician.
Read Also: Want To Reset Gosund Smart Plug? Must Read It Before Reset Smart Plug
In conclusion, when you add plug to light fixtures, it makes your lighting setup easier and more convenient.
You can easily move and revamp your lighting whenever you like with just a few easy steps and a conversion kit. What are you waiting for? Get a conversion kit from your local hardware store and enjoy the flexibility and versatility of plug-in light fixtures today.
Read Also: DIY Lamp Repairs Guide-Top 10 Solutions To Lighting Problems


Average Rating