It’s just so exciting to open up your brand-new Blink Outdoor Camera. But how do you do a blink outdoor camera setup? You can already imagine it: a home where you feel safer, more secure, and maybe even a little tech-savvy. But first, you’ve got to set up Blink outdoor camera. Don’t worry; I’ve got you covered with the Blink outdoor camera setup!
Using this guide, you can install your Blink outdoor camera quickly and easily.
From downloading the Blink App to optimizing your camera’s settings, we’ll walk you through every step of the way. Are you ready to transform your home security game?
Here are some things you should consider before installing your blink outdoor camera.
What’s in the Blink Box?
When you unbox your Blink Outdoor Camera, you’ll find the following components:
- Blink Outdoor Camera
- Sync Module
- Power Supply
- Mounting Hardware
- User Manual
Download the Blink App
Before you start setting up your camera, make sure to download the Blink App from the App Store or Google Play. This app will be your control center for configuring and monitoring your camera.
How to Set Up the Sync Module for Seamless Connectivity
Think of the Sync Module as a hidden hero of your Blink Outdoor Camera setup. The magical little box connects your camera to your home’s Wi-Fi network. Make sure everything runs smoothly.
Step 1: Plug in the Power
First things first, plug your Sync Module into a nearby power outlet. You’ll see a small LED light come on, signaling it’s ready for action.
Step 2: Open the Blink App
Next, grab your smartphone and open the Blink App. You can find it in the App Store or Google Play if you still need to download it.
Once the app is open, tap the ‘Add a New Device’ option. These will take you to a screen where you can select the type of device you’re setting up. Go ahead and choose ‘Sync Module.’
Step 3: Follow On-Screen Instructions
Now you’ll be guided through the rest of the setup process. It’s straightforward and intuitive, so follow the on-screen prompts.
You’ll be asked to scan the QR code on the back of the Sync Module, connect it to your Wi-Fi network, and name it for easy identification later.
And there you have it! Your Sync Module is ready to bridge your Blink Outdoor Camera setup with your home network.
With this crucial step completed, you’re closer to a safer, smarter home.
How to Install a Security Camera: Your Step-by-Step Guide
So, you’ve set up the Sync Module and are ready to get your Blink Outdoor Camera up and running. The good news?
It’s a straightforward process that you can complete in no time. Let’s get started!
Battery Installation: Power Up Your Security
One of the best features of the Blink Outdoor Camera is its battery-operated design, allowing you to place it wherever you like. Here’s how to get it powered up:
- Open the Back Panel: Locate the back panel of your camera and gently open it.
- Insert the Batteries: Place the batteries in their designated slots, aligning them as indicated.
- Close the Back Panel: Once the batteries are in, close the back panel securely.
Scanning the QR Code: The Quick and Easy Way to Connect
Your Blink outdoor camera has a unique QR code to simplify the setup process. Here’s what to do:
- Open the Blink app: Launch the Blink App on your smartphone and navigate to ‘Add a New Camera.’
- Scan the QR Code: Use your phone’s camera to scan the QR code found either on the back of your Blink Outdoor Camera or in the user manual.
- Follow the on-screen instructions. The app will guide you through the remaining steps. Just follow along, and you’ll be done in a jiffy.
Mounting Options: Choose Your Perfect Spot
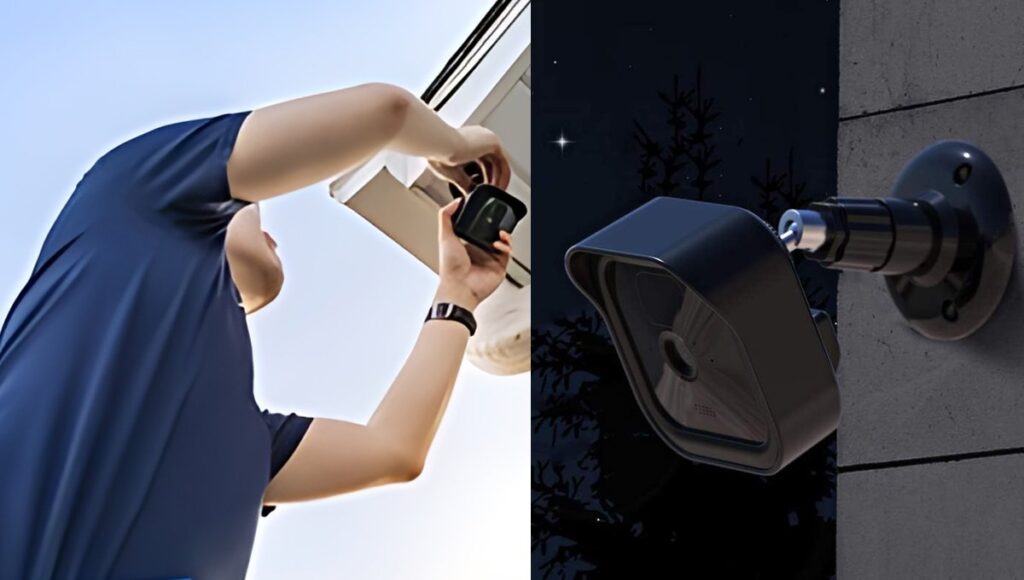
When it comes to mounting your camera, you’ve got options. You can either use screws for a more permanent setup or go for a no-drill method.
- Secure the mount to the chosen location with the provided screws.
- Slide the mount under siding or a tile on your home’s exterior for a screw-free installation. Make sure it fits snugly.
Configuring the Camera via App: Tailor Your Security
Now that your camera is in place, it’s time to fine-tune its settings.
Open the Blink App. If you’ve closed it, reopen the Blink App.
Navigate to Camera Settings. You can adjust features like motion detection sensitivity, video quality, and alerts here.
Once you’ve configured the settings to your liking, save them and run a quick test to ensure everything works.
And there you have it! Your Blink outdoor camera is fully set up and customized to your needs. You’re not just a homeowner now; you’re a smart homeowner.
Read Also: Why Is My Blink Camera Not Recording, And How To Fix It?
Your Blink Outdoor Camera Can Do More: Unlock its Full Potential
So, you’ve got the basics down, but what about the advanced features that can take your home security to the next level?
Let’s delve into some of the nifty options that your Blink Outdoor Camera offers.

Local Storage Options: Keep Your Data Close to Home
Not a fan of cloud storage? No problem! Your Blink Outdoor Camera offers a local storage option to keep your video clips right where you want them—within your reach. Here’s how:
- Any standard USB drive will work.
- Put the USB drive in the USB port of Sync Module 2.
- For configuration in the Blink App, open the settings menu, select ‘Local Storage,’ and then click ‘Configure.’
Adding Accessories: Boost Your Security Game
Your Blink Outdoor Camera is already a powerful tool, but you can make it even better with some cool accessories:
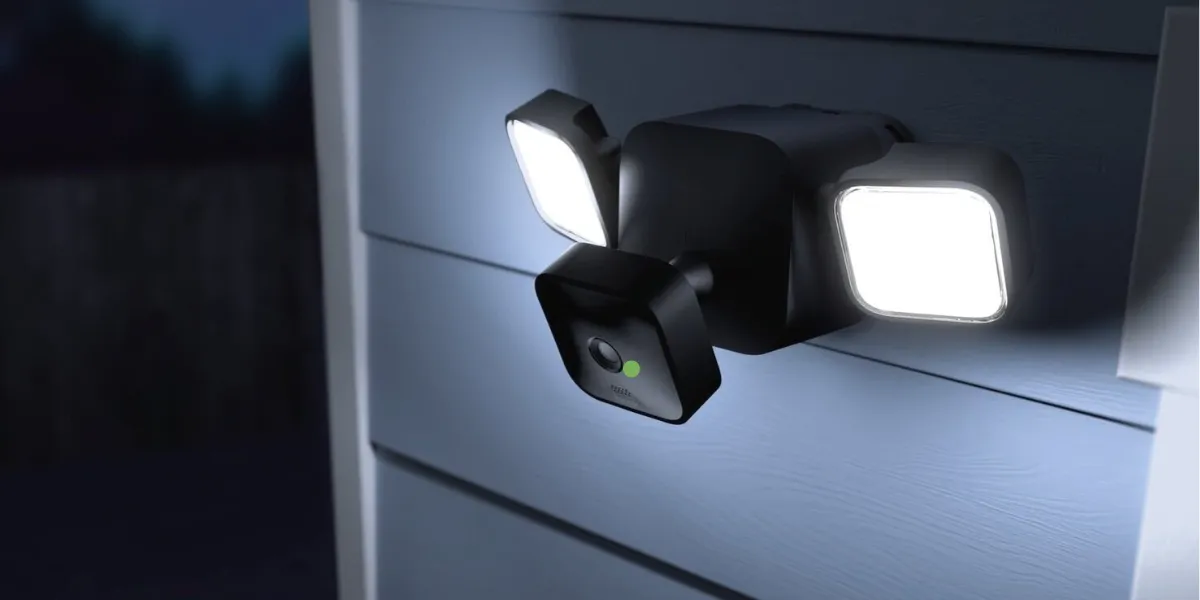
For better visibility and safety, floodlights illuminate dark areas. You can expand your security network by adding more cameras. To explore these options, go to the ‘Accessories’ section in the Blink App.
Troubleshooting: Quick Fixes for Common Hiccups
Let’s face it: even the best of us run into issues sometimes. But don’t fret; most problems you might encounter during setup are easily solvable. Here are some quick fixes:
Try resetting your Sync Module if you’re experiencing connectivity issues. Reconnect it after unplugging it for a few seconds.
Read Also: How To Unregister A Blink Camera Without An Account (2023)
Ensure your Wi-Fi network is stable and the Sync Module is within range of your network.
Following these troubleshooting steps will likely solve any issues you encounter, making your Blink Outdoor Camera setup a smooth experience.
FAQ | Blink Outdoor Camera Setup
There is a lot to know about home security, but we’re here to make it easier for you. Below are some of the most frequently asked questions about setting up your Blink Outdoor Camera.
Where can I find the Blink outdoor camera manual PDF?
In most cases, the user manual is included with your Blink device.
But if you’ve misplaced it or prefer a digital version, you can easily download the PDF manual from the official Blink website under the ‘Support’ section.
Is there a Blink outdoor camera setup PDF?
Absolutely! Blink understands the need for accessible information, so they offer blink outdoor camera setup guide in PDF format.
You can find these on the Blink support page, allowing you to view or download the guide for future reference.
How do I use the Blink outdoor camera setup manual?
Blink indoor outdoor camera setup manual is designed to be user-friendly, offering step-by-step instructions to guide you through the entire setup process.
You will also find troubleshooting tips for common issues. Follow along, and you’ll have your camera up and running quickly.
Can I set up the Blink mini camera the same way?
The Blink mini camera shares many similarities with its outdoor counterpart, but there may be model-specific steps you need to follow. It’s always a good idea to consult the manual with your Blink mini camera for any unique setup requirements.
How to set up Blink indoor camera?
Setting up a Blink indoor camera is almost a mirror process to the outdoor version. The Blink App will guide you through the setup, from connecting to the Sync Module to configuring camera settings.
If you’ve set up an outdoor camera before, you’ll find this process very familiar.
Are there specific Blink camera instructions?
Yes, each Blink camera model has its own detailed instructions. There’s a user manual that comes with the device or within the Blink App under the ‘Help’ or ‘Support’ section.
How to install Blink outdoor camera without screws?
If drilling holes isn’t your thing, you’re in luck! Blink offers a no-drill mounting option. You can slide the mount under a siding or a tile on your home’s exterior, ensuring a snug fit. This method is secure and convenient, allowing you to place your camera wherever you like.
In conclusion, now you can easily set up your Blink Outdoor Camera. We’ve covered everything you need to know, from unboxing to advanced features, to ensure you’re well-equipped for your Blink Outdoor Camera setup.
Now that your home security camera is running, you can enjoy peace of mind. Put on a smile; you’ve just made your home safer. Pat yourself on the back. Until next time, happy monitoring!
