Interior home lights set the mood and make your living space functional. You can choose from warm, inviting ceiling lights to sleek, modern LED fixtures. But what if you need to replace or remove a light and leave exposed wires behind?
It’s crucial to know how to safely tie off interior home lights to prevent electrical hazards.
In this guide, I will show you how to do it so you can feel confident. No matter whether you’re installing black lights, pendant lights, or anything in between. I’ll help you figure out the safely disconnect interior home lights.
DIY Guide: How do you safely disconnect Interior Home Lights
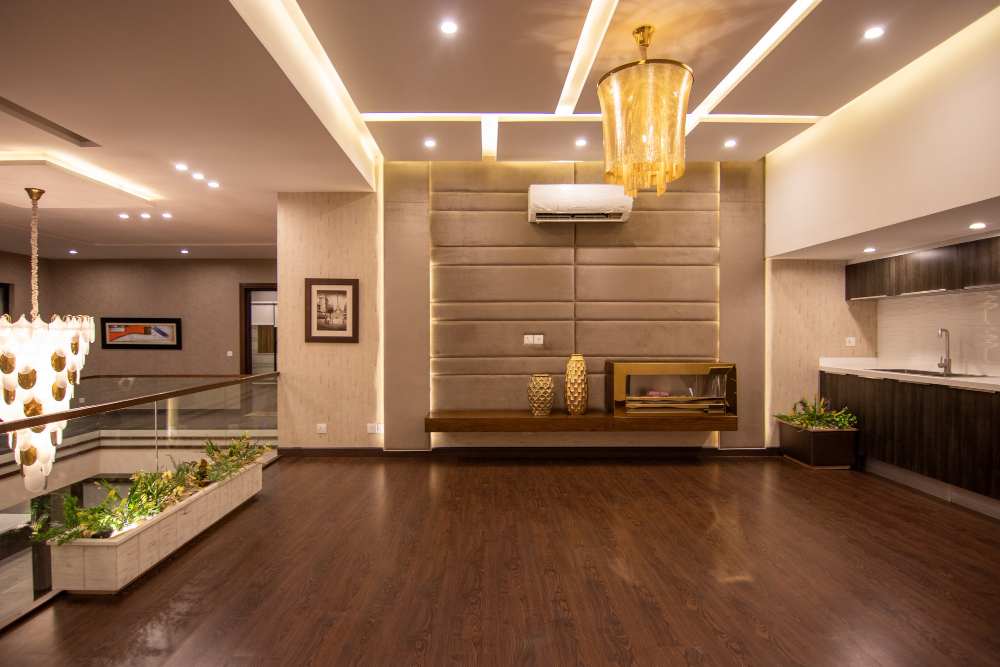
Your home’s lighting can be fun and refreshing if you upgrade it. But before you start thinking about it, make sure the process is safe and smooth.
I will assist you with every step of the process, beginning with preparing for the project to enjoying your new light.
Match the weight
Check that your new light’s weight fits within your existing junction box. Heavier fixtures may be required to be reinforced. If you are unsure, you should consult an electrician.
Create a secure work area
For safe wire handling, use a stepladder with a platform attachment.
Remove existing fixtures:
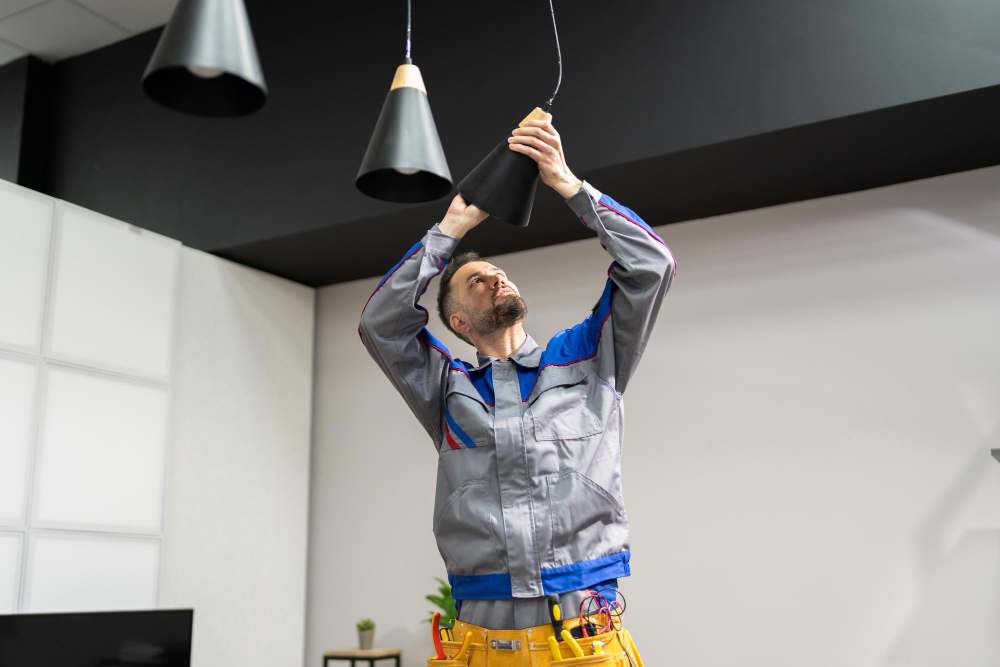
You should ensure that someone is holding the existing fixture before disconnecting it in order to prevent any sudden drops.
Take note of the order and position of each wire later when re-connecting the wires. Remove the wire connectors (usually twist caps) and disconnect the wires.
You should pay close attention to how the wires are connected as you disconnect them (black for hot, white for neutral, and bare copper or green for ground).
Read Also: 10 Perfect Farmhouse Kitchen Lighting Ideas. Boost Your Kitchen’s Brightness
How to Assemble the New Fixture:

- Place all the parts of the new fixture on a clean, well-lit surface.
- It’s easy to install if you follow the instructions carefully. Read the assembly instructions carefully.
- You can adjust the stems and chains to get the right height. Make sure it’s high enough to be comfortable changing bulbs and doesn’t obstruct your room.
How to wire the new fixture:
Connect the black wire from the fixture to the black wire from the house. The bare copper or green wire is the ground wire in newer fixtures.
Your home could be at risk if your old fixture doesn’t have color-coded wiring.
Now secure all wires with the supplied wire nuts (small caps). Make sure none of the wires are exposed.
Read Also: Easy DIY Rustic Open Box Light Fixtures Indoor In 10 Minutes
How to mount the fixture:
You can probably reuse the mounting strap that came with your junction box.
Put the updated fixture up. Ensure all the wires are tucked inside the junction box with enough slack for future adjustments. Make sure the hardware is hidden under the canopy (a decorative cover plate). You need to make sure the bulbs you choose are compatible with the fixture’s wattage and base.
Turn on the switch to see if your new light works after restoring power at the breaker box.
How do you cap off a ceiling light?
The capping off of ceiling light wires after removing a fixture is essential for safety and other future electrical work. Here’s a step-by-step guide:
You should always turn off the power to the circuit at the breaker box prior to touching any wires. Verify that there is no power present by using a non-contact voltage tester.
There will be a number of tools needed, including a screwdriver (appropriate for the fixture type), wire nuts (different sizes), electrical tape, and optionally, pliers.
Cap off a ceiling light Steps:
- It is important to follow the specific instructions on the light fixture when removing it.
- It is typically necessary to identify three wires: black for hot, white for neutral, and bare copper or green for ground.
- To put a cap on the hot wire, twist the bare end tightly around itself using pliers (optional) and attach a wire nut sized to the wire gauge.
- Ensure that the white (neutral) and bare copper/green (ground) wires are separately capped with wire nuts of the appropriate size.
- Double check everything: Make sure all connections are secure, no bare wires are exposed, and the wire nuts are tight.
- You can also wrap the wires loosely with electrical tape for extra security.
- Put the wires back in the junction box and make sure they’re not crammed or interfering with the cover.
Read Also: Home Interior Decorative Lights: 101 Ideas To Transform Your Space
In conclusion, if you follow these steps to safely tie off interior home lights, your electrical system will last longer and be safe.
Don’t work on electrical components while the power is on and consult a pro if you’re unsure. You can enjoy a well-lit, hazard-free living space with the right precautions.


Average Rating