
A mobile home is a popular housing option due to its affordability and flexibility. However, like any home, mobile homes require maintenance and repairs from time to time. Mobile homeowners may face faulty light switches. How to replace a mobile home light switch?
Mobile home owners can replace a WeMo Light Switch as a DIY project with little difficulty. It’s important to understand the process, whether it’s for functional needs or aesthetic upgrades.
In this article, we will discuss how to replace a mobile home light switch. I will also discuss the steps and tools required to replace a mobile home light switch.
Why Do You Need To Replace A Mobile Home Light Switch?
A light switch is a simple but essential component of any home’s electrical system. It allows you to turn your lights on and off easily. However, over time, light switches can become worn out or damaged.
This can lead to issues such as flickering lights, difficulty turning lights on or off, or even electrical hazards. Light switches may also become loose or malfunction as a result of home movement.
Your home’s electrical system is safe and functional if you replace a faulty light switch. You can do the repair yourself, and it’s relatively cheap and easy. So, how do you replace a mobile home light switch?
Read Also: Leviton Motion Sensor Light Switch Troubleshooting: 6 Ways To Fix
Mobile home light switch replacement: what you’ll need
You will need the following tools to replace your mobile home light switch. These include:
- Flathead or Phillips screwdriver (depending on the screw type)
- Wire strippers
- Voltage tester
- Needle-nose pliers
- Wire connectors
- Replacement light switch
Steps To Replace A Mobile Home Light Switch
Now that you have the necessary tools, let’s go through the steps to replace a mobile home light switch with 3 wires.
Step 1: Turn off the power.
Before starting any electrical work, it is crucial to turn off the power to the area you will work in. Locate your home’s main electrical panel and switch off the circuit that supplies power to the light switch you will replace.

To be extra cautious, you can also turn off the main power to your home.
Step 2: Remove the old light switch.
Using a screwdriver, remove the screws that hold the light switch cover in place. Once the cover is removed, you will see the light switch and its wires.

You’ll need to carefully pull the wires out of the wall after you’ve removed the light switch.
Step 3: Test the wires.
Check the wires for power by using a voltage tester. If the tester indicates that there is still power, double-check that you have turned off the correct circuit or mains power.

Step 4: Disconnect the wires.
With needle-nose pliers, disconnect the wires from the old light switch. If the wires are connected with wire nuts, unscrew them to release the wires.

Pull the wires off the terminals if they are connected directly to the light switch.
Step 5: Prepare the wires.
You will need to strip the ends of the wires with a wire stripper in order to leave about 1/2 inch of bare wire. This will allow for a secure connection to the newly installed light switch.
Step 6: Connect The Wires To The New Light Switch
Now take your freshened light switch and connect the wires to the appropriate terminals. You should tie the black wire to the brass or gold-colored terminal, and the white wire to the silver-colored terminal. The green terminal should be connected to the ground wire if it exists.
Step 7: Secure the light switch.
Once the wires are connected, carefully push the light switch back into the wall, ensuring that the wires are not pinched or damaged. To install the updated light switch, use the screws provided.
Step 8: Test the light switch.
Turn the power back on and test the light switch to ensure it works correctly. If the light switch functions correctly, turn the power back on and replace the cover.

Finally, you have successfully replaced your mobile home light switch!
Replacement Tips for a Mobile Home Light Switch
- Always turn off the power before starting electrical work.
- If you are unsure about any steps, consult a professional electrician.
- Take a photo of the old mobile home light switch wiring diagram before disconnecting it. This will be used as a reference when connecting the wires to the existing light switch.
- Whenever you replace multiple light switches, it is a wise idea to replace them all at once to ensure consistency in the home’s electrical system.
What Is The Best Time To Call A Professional
There are some instances where it is wise to contact a professional electrician to replace a light switch.
- Work with electricity only if you are comfortable with it.
- Feel free to ask questions if you are unsure about any of the steps.
- You may be experiencing other electrical issues in your home.
- Replace multiple light switches if you are unsure.
Read Also: How To Connect Light Switch Hidden Camera? Easy Tips For Beginners
Frequently Asked Questions About Mobile Home Light Switches
Can Light Switches Be Replaced?
Absolutely! You can replace light switches if they act up or you just want an upgrade. It’s a straightforward DIY job. There are various types available, including single-pole, 3-way, 4-way, dimmers, and motion sensors.
Replace a light switch: What’s the cost?
A replacement Wirecon light switch is quite affordable. A basic single pole light switch might cost $6. If you’re looking for something more complex like a three-way or four-way switch, it could be around $10 to $15.
Adding a dimmer for mood lighting costs under $10. You can expect prices to vary a bit depending on the style.
Can I Change My Own Light Switch?
Definitely! No matter how handy you are, changing a light switch is possible. You’ll need a few basic tools like screwdrivers, a voltage tester, and maybe some needle-nose pliers. Just remember safety first – always turn off the power at your circuit breaker before tinkering with electrical stuff.
Hope that helps! Remember, if you’re not comfortable with DIY electrical work, call a professional.
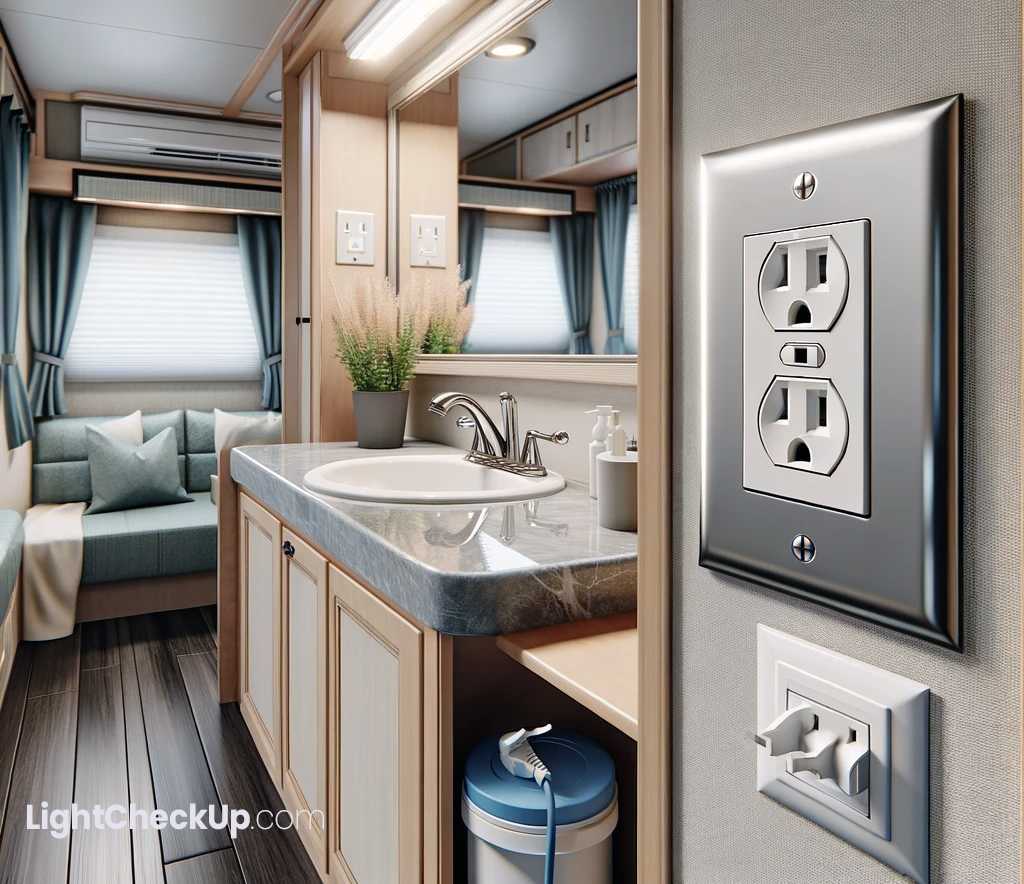
Where Are GFCI Outlets Found in Mobile Homes?
That handy safety outlet, the GFCI! The only GFCI outlet you found in an 80s or 90s mobile home was usually in the garage.
But these days, they’ve moved to the bathroom – a popular spot for a modern touch. So, if you’re on a GFCI hunt for a mobile home, check the bathroom first.
What’s the Drill to Replace a Light Switch in a Mobile Home?
Want to replace a light switch? No sweat! Simply use a wrench to gently remove the old switch – but be gentle so you don’t damage the wires.
Mobile home switches are pretty neat; they fit snugly into thin walls and don’t need bulky boxes. Once the old one’s out, pop the updated switch in, screw it tight, and you’re all set!
How About Installing Dimmer Switches in a Mobile Home?
Do you need a bit of mood lighting? Installing a dimmest switch is like swapping out an old switch. The twist?
You need extra black wire from the ceiling to the switch for smooth dimming. The wires are connected, covered with a box, and screwed together, and your dimmer is ready to go!
Is Swapping Out a Light Switch a Big Deal?
Worried about switching a switch? Don’t be worried! It’s easier than you think, even if you’re a newbie to the game.
A bit of practice with an old switch can help. Regardless of the switch type, the basics are the same. So dive in – it’s not as daunting as it seems!
How Much Does it Cost to Replace a Light Switch in A Mobile Home?
Think about the cost? If you’re not into DIY, getting a pro to do it will cost $65 to $125 per switch. Planning a house renovation?
That could start at $400 and go up, depending on what you need.
How to change a mobile home light switch to a regular switch?
A mobile home light switch can be converted to a regular switch by turning off the circuit breaker. Remove the cover plate and screws, then disconnect the wires from the existing switch. Connect the wires to the new regular switch, ensuring the correct wire connections, and secure the switch in place with the screws.
Finally, replace the cover plate and turn the power back on at the circuit breaker.
In conclusion, Self contained mobile home light switches are easy and affordable to replace. Follow these steps to make sure that your home’s electrical system works safely and efficiently.
Remember to always turn off the power before starting any electrical work, and consult a professional if you are unsure.
You can easily replace a mobile home light switch with the right tools and knowledge.


Average Rating