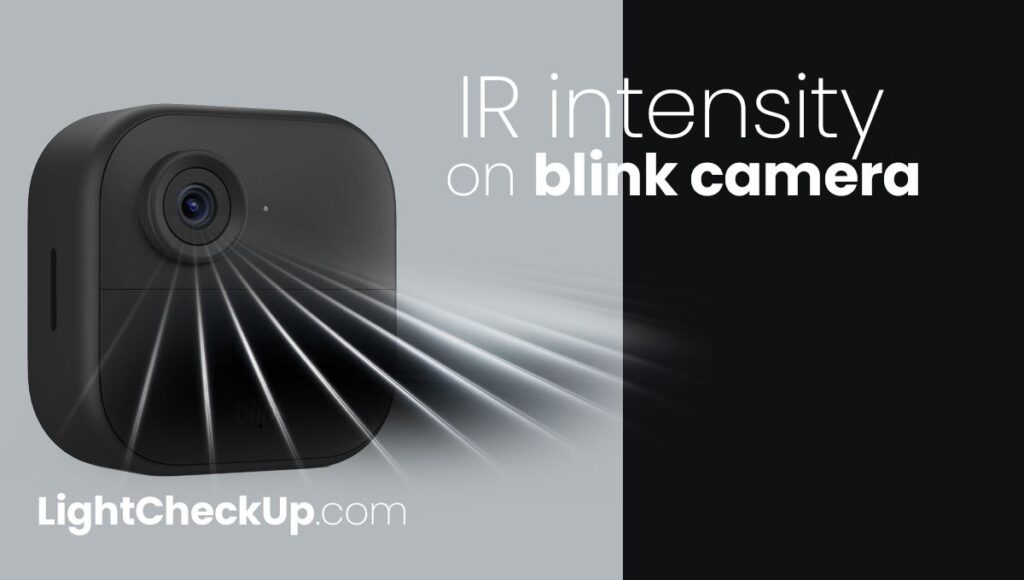
IR intensity makes nighttime surveillance easier with Blink cameras. Cameras with IR, or infrared, intensity are able to see clearly in low light or in the dark. But what is IR intensity on blink camera? The feature uses infrared light that we cannot see with our eyes, but cameras can capture clear footage in the dark.
Blink cameras use a special light called an 850nm infrared LED. It allows the camera to produce clear videos even when it is dark. Three settings allow you to adjust the intensity of this light: Low, Medium, and High. As a result, your camera can see just as well in a dim room as it can in a completely dark backyard.
Blink camera night vision not working! Here’s how to optimize your Blink camera’s night vision settings: The goal isn’t just to see in the dark, but to see everything.
What is IR intensity settings?
Blink night vision cameras use IR light intensity to improve low-light video quality. We cannot detect IR light, but cameras need it to see in the dark. The IR intensity setting controls how bright or powerful this infrared light is.
This directly affects the camera’s ability to take clear pictures in the dark. Higher IR intensity means brighter infrared light, which helps the camera see farther and crisper.

Choose Right IR Setting: What is IR intensity on blink camera?
It is important to choose the right IR intensity setting for your Blink camera if you want to improve night vision. Here are some tips for choosing between low, medium, and high:
Low setting:
Use this in areas with ambient light, like streets with lampposts or rooms with nightlights. It’s also helpful if you want to avoid overexposing the image, which can happen if the IR light is too strong for the environment.
Medium setting:
Ideal for partially lit areas, like a backyard with minimal lighting or a porch with indirect light. This setting provides balance, offering enough IR light to enhance visibility without being too overpowering.
High setting:
Perfect for completely dark environments, like a garage with no windows or an unlit garden. Use this when you need maximum visibility and detail in pitch-dark conditions.
If you’re monitoring an area with natural or artificial light, you’ll need to find the right setting. Find out which settings give you the best results by experimenting with them.
What is the Role of 850nm Infrared LED in Blink Cameras?
Blink cameras use a special light called an 850nm infrared (IR) LED to improve night vision. It is this light that helps these cameras see in the dark. How it works:
Infrared Light: The 850nm wavelength of Blink cameras’ infrared light is close to the edge of what humans can see. This means that the light is almost invisible to humans but suitable for a camera.
Improve Night Vision: When it is dark, the 850nm IR LED in Blink cameras turns on. This light shines infrared light on the area in front of the camera. We cannot see this light, but the camera can, which lets it capture images.
Stealth Observation: The camera can record at night without attracting attention due to 850nm’s near-invisibility. This is especially helpful for security reasons since it does not bother animals or intruders’ natural behavior and does not draw attention to itself.
Better Clarity: This wavelength was chosen because it gives a clear and sharp image in low light, letting the camera see details it would have missed in the dark.
Read Also: Best Settings For Blink Outdoor Camera App 2023: Have You Set It!
Troubleshoot Common IR Intensity Issues
When adjusting Blink infrared sensor intensity, users might encounter some common issues. Here are typical challenges and solutions:
Poor night vision quality: IR intensity on blink camera
Issue: If night vision quality is poor, the IR intensity might be too low.
Solution: Increase the IR intensity setting to Medium or High, especially in very dark areas.
How to fix overexposed images on blink camera
Issue: If images are too bright or washed out, the IR intensity might be too high.
Solution: Lower the IR intensity to medium or low, particularly in areas with ambient light.
IR Light Not Turning On:
Issue: Sometimes the IR light doesn’t activate in low-light conditions.
Solution: Check if the IR settings are in ‘Auto’ mode. If not, switch to auto or manually turn on the IR light in the Blink app.
Flickering IR Light:
Issue: The IR light flickers or stays on inconsistently.
Solution: Ensure the camera is properly powered and connected. Battery-powered models may need fresh batteries.
Settings are not visible to the eye.
Issue: Changing IR intensity settings doesn’t seem to help.
Solution: Verify if the camera firmware is up-to-date. If the issue persists, reset the camera settings or contact Blink support.
If users follow these common issues, their Blink cameras will have the best night vision performance when it comes to IR intensity settings.
How to Adjust IR Intensity on a Blink Camera
Open the Blink app and pick the camera you want to adjust. Click on the settings icon above the camera’s picture. Scroll down to ‘Night Vision’ and tap on it.
Here, you can turn the IR LED on or off, or set it to turn on automatically in low light.
You can toggle the IR LEDs on and off in the Night Vision section. This activates them in low-light conditions. Below these options, you’ll see the IR intensity settings: low, medium, or high. You can choose the setting that is perfect for you.
Read Also: Blink Camera Live View Failed? Don’t Panic – Here’s Help 2023
In conclusion, the IR intensity setting is key for Blink cameras to work in the dark. You can choose between low, medium, and high settings. You can ensure your camera sees clearly, no matter how dark it is. This feature makes Blink cameras flexible and effective for night-time security, giving clear images in any light.
The right IR intensity can boost your camera’s ability to see at night.
Read Also: 5 Simple Ways To Fix Blink Camera Blinks Green Light Issue


