If you want to personalize your motorcycle, adding Motorcycle wheel lights is a great idea. A touch of style makes it more attractive and enhances your safety on the road by increasing your visibility. This guide will walk you through installing wheel lights step-by-step, from gathering the materials and tools you need to secure the lights on your wheels.
I will let you know how Motorcycle wheel lights creativity for all levels. So, let’s get started and light up your wheels in style!
Benefits of installing Motorcycle Wheel Lights
Installing wheel lights on your motorcycle offers a range of benefits that go beyond mere aesthetics.
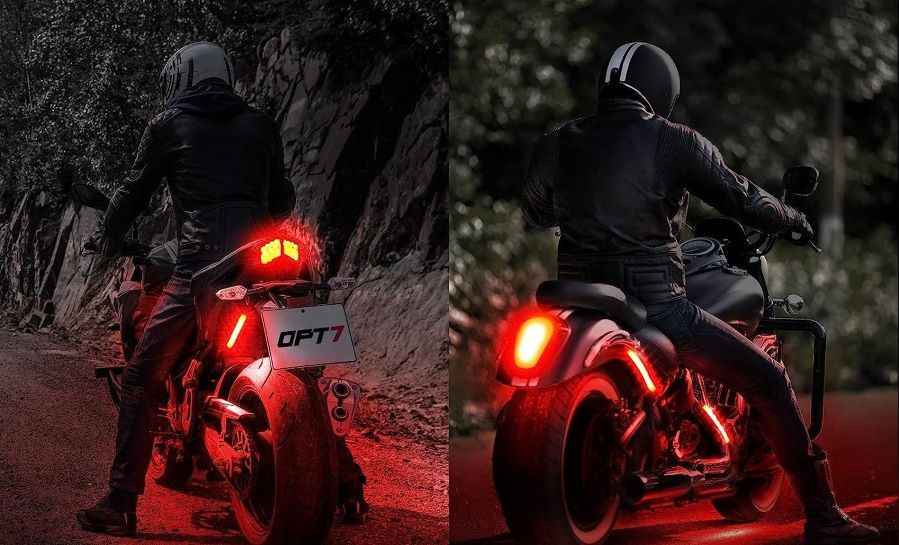
Enhanced visibility: Motorcycle Wheel Lights increase visibility, one of their main benefits. If your wheels are illuminated, you are more noticeable to other road users, especially at night. Using these advanced technologies while driving can significantly reduce the chances of unwanted accidents.
Personalization and style: It allow you to personalize your motorcycle. With various colors and lighting effects, you can create a custom look that matches your personality and stands out. Whether you prefer a subtle glow or an animated light show, Motorcycle wheel lights offer endless possibilities for customization.
Enhanced night riding experience: A motorcycle ride at night can be exciting and challenging at the same time. Installing wheel lights makes you more visible to others and enhances your visibility. The illuminated wheels create a striking visual effect, making your night rides more enjoyable and memorable.
Different types of motorcycle wheel lights
When it comes to motorcycle wheel lights, there are several options. Each motorcycle wheel lights has different features and benefits.

LED wheel lights: Motorcycle riders love LED (Light Emitting Diode) wheel lights. They are energy-efficient, durable, and offer various color options. LED lights are also known for their brightness and ease of use with a remote or a smartphone app.
Neon wheel lights: Neon wheel lights use neon tubes to create a distinctive glow. They are known for their vibrant colors and can add a retro vibe to your motorcycle. Neon lights are slightly less bright than LED lights but can still provide a stunning visual effect.
Wireless wheel lights: Wireless wheel lights eliminate the need for complicated wiring and can be controlled remotely. A flexible lighting effect and easy installation. It’s easy to change the color and pattern of your motorcycle’s wheel lights with wireless wheel lights.
Necessary tools and materials for installation
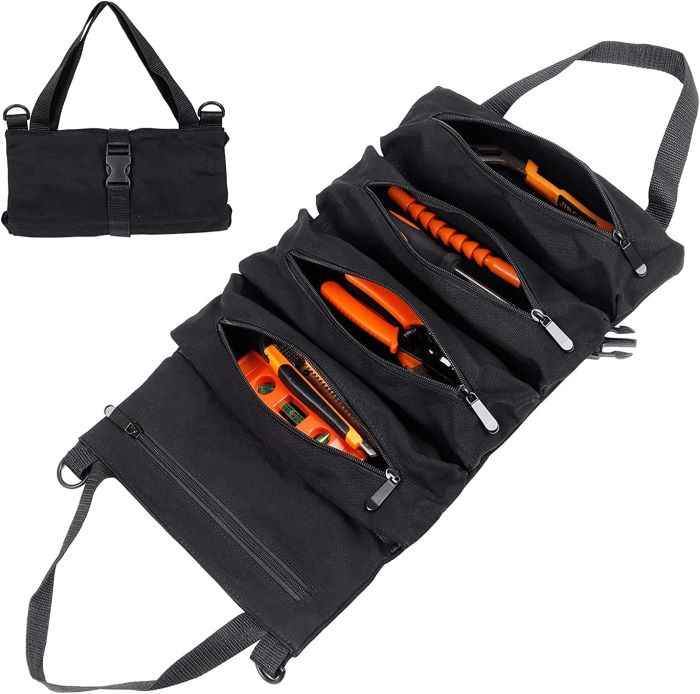
That is an essential first step to ensure a smooth installation process. Here’s a list of items you’ll need to install wheel lights on your motorcycle:

Wheel light kit: Purchase a high-quality wheel light kit that suits your preferences and motorcycle model. Verify that all the needed components are included: lights, controllers, wiring, and mounting accessories.
Screwdriver set: A set of screwdrivers will help remove any existing wheel components and install the lights.
Wire cutters and strippers: These tools will be needed to cut and strip the wires during installation.
Electrical tape: Electrical tape is essential for securing the wires and providing insulation.
Zip ties: Zip ties help secure the wires and keep them organized.
Rubbing alcohol: Use rubbing alcohol to clean the mounting surface on your wheels before attaching the lights.
Safety goggles and gloves: It’s essential to protect your eyes and hands during installation, so wear safety goggles and gloves.
Step 1: Preparing your motorcycle for installation
Before you begin installing the wheel lights, it’s essential to prepare your motorcycle to ensure a smooth installation process. Here’s how to prepare your bike:
1. Find a suitable location to work on your bike comfortably. Ensure there’s enough room to move around and access the wheels quickly.
2. disconnect the battery from your motorcycle to avoid any electrical mishaps. It will prevent any accidental short circuits while working with the wiring.
3. Use mild detergent and water to clean the wheels thoroughly. Keep the surface clean, grease-free, and debris-free, ensuring a secure attachment of the Motorcycle wheel lights.
The next step in your installation process is choosing the right wheel lights for your bike.
People Also Read: Solar Cab Light, Is It Really Worth Investing Your Money
Step 2: Choosing the right wheel lights for your motorcycle
Choosing the right wheel lights is essential to achieve your motorcycle’s desired look and functionality. Here are some factors to consider when selecting wheel lights:

1. Ensure that the wheel lights you choose are compatible with your motorcycle’s make and model. Choose the correct type of lights for your wheels based on size and design.
2. Decide on the color scheme and lighting effects you want for your motorcycle. It will help you narrow your options and choose lights that align with your preferences.
3. On the road, consider how visible the lights will be. Opt for bright lights to enhance your visibility without being overly distracting to other drivers.
The next step is to install your motorcycle’s wheel lights.
Step 3: Installing the wheel lights on your motorcycle
Installing the wheel lights may vary depending on the type of lights and your motorcycle’s design.
The general installation steps are as follows:
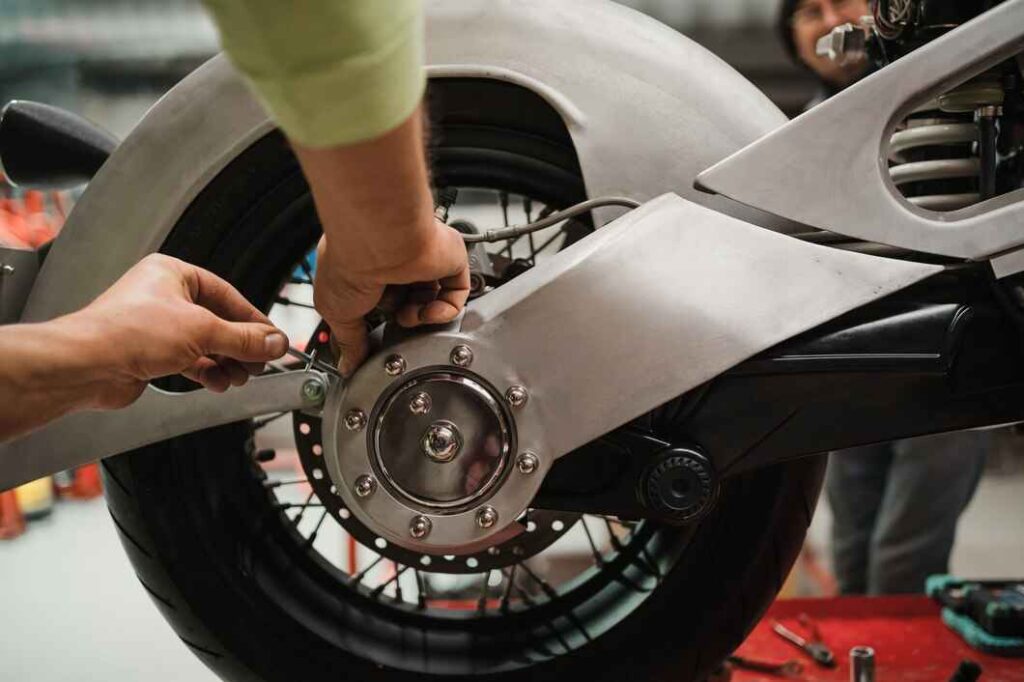
1. Start by removing any existing components that may obstruct the installation of the Motorcycle wheel lights, such as hubcaps or reflectors. Use a screwdriver to remove these parts carefully.
2. Most wheel light kits come with mounting brackets that must be attached to the wheels. Ensure the brackets are securely attached to the wheels according to the instructions.
3. Mount the lights onto the brackets according to the instructions; once the brackets are in place. Ensure that the lights are positioned evenly and securely.

4. Use zip ties to secure the lights and prevent them from coming loose while riding. Keep the zip ties tight enough to hold the lights in place without damaging the wires.
The next step is to wire and connect the lights after the lights are securely mounted on your wheels.
Step 4: Wiring and connecting the Motorcycle Wheel Lights
Proper wiring and connection of the wheel lights are crucial to ensure they function correctly. Follow these steps to wire and connect the lights:
1. Use wire cutters and strippers to prepare the wires for connection. Strip back a small section of insulation from the ends of the wires.
2. Match the color-coded wires from the lights to the corresponding wires on the controller. To ensure the wires are secure, twist and tape the exposed ends together.
3. Carefully route the wires along your motorcycle’s frame, ensuring they are hidden and protected from any potential damage. You can use zip ties to secure the frame.
4. Connect the controller to the power source, following the instructions provided with your wheel light kit. That may involve connecting the controller to the motorcycle’s battery or another power source.
It’s time to test and adjust the Motorcycle wheel lights once the wiring and connections are made.
Step 5: Testing and adjusting the Motorcycle Wheel Lights
Before hitting the road, testing the wheel lights and making any necessary adjustments is essential.
Need help with those pesky lights? Fear not, for I have a solution! Follow these steps:
1. Reconnect the battery to your motorcycle and ensure all connections are secure.
2. Switch on the lights using the controller or remote. Check if all the lights function correctly and the desired color and lighting effects are achieved.
3. If the lights flicker or are unevenly bright, double-check the connections and make any adjustments needed. Ensure that the lights are evenly positioned and securely mounted.
4. Take a short test ride to see how the lights perform while in motion. Pay attention to visibility and any potential distractions caused by the lights. Make further adjustments if needed.
Read Also: S14 Tail Lights: How To Makeover With These Stunning Tail Lights
Maintenance and troubleshooting tips for motorcycle wheel lights
It’s essential to follow these maintenance and troubleshooting tips:
1. Periodically check the lights for any signs of damage or loose connections. Tighten loose zip ties or brackets and replace damaged lights or wires.
2. Use a soft cloth and mild cleaning solution to clean the lights and remove any dirt or debris gently. Be careful not to damage the lights with harsh chemicals and abrasive materials.
3. If you’re not using your motorcycle for an extended period, protect the wheel lights by covering them with a soft cloth or plastic wrap. It will prevent dust and moisture from accumulating and potentially damaging the lights.
4. Always refer to the manufacturer’s instructions for specific maintenance and troubleshooting guidelines. They will provide valuable information on how to care for your specific wheel light kit.
final thoughts about Motorcycle Wheel Lights
You can enhance your safety on the road and customize your motorcycle by installing wheel lights. It is easy to be easy install wheel lights on your motorcycle. Follow the installation steps carefully and choose the right type of motorcycle light.
With proper maintenance and care, your Motorcycle wheel lights will continue illuminating your rides for years. So, get ready to dazzle the streets and let your wheels shine!


Average Rating