Do you have trouble with your metal siding lights? Metal siding light mounting blocks are your solution! These handy and easy-to-use devices make installing outdoor lights a breeze. It’s not just that they look good, but they keep your fixtures safe.
So, how do you get started? Don’t worry – it’s easy. Whether you’re looking for an installation block for ribbed metal siding or a simple siding installation block, we’ll cover the basics. We’ll even tackle questions like, Do you need a mounting block for exterior lights? And how do mounting blocks work?
Ready to brighten up your home’s exterior? Here are some tips for installing metal siding with light mounting blocks!
metal siding light mounting blocks Installation Steps
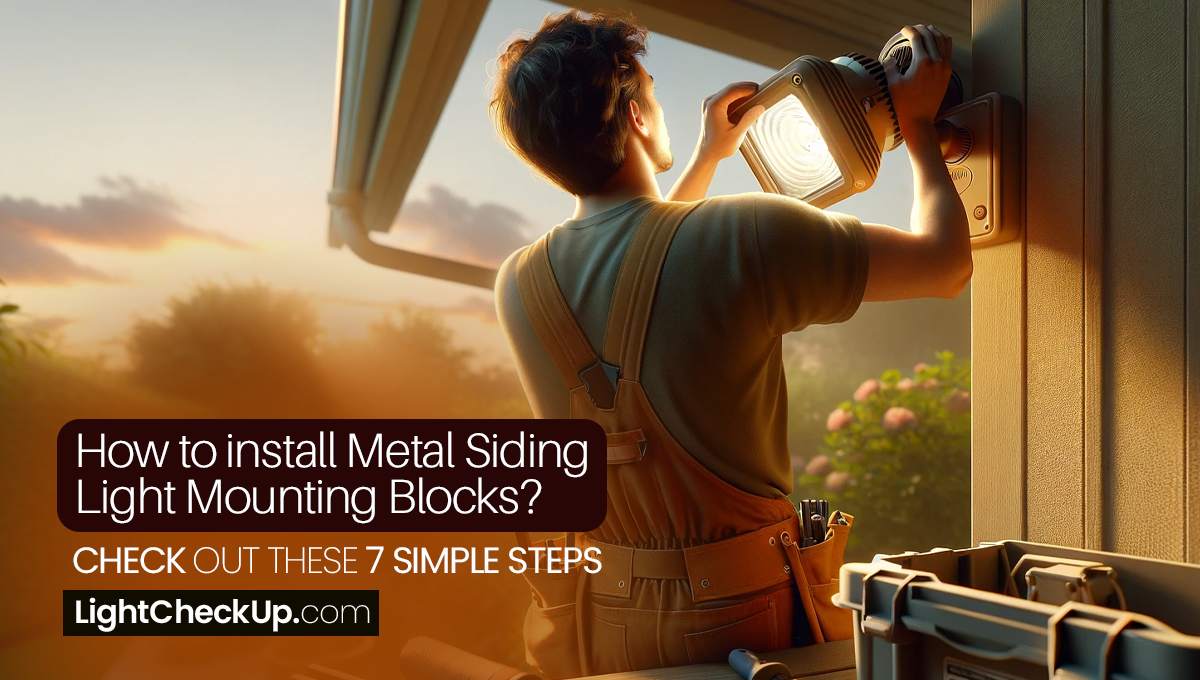
Here’s how to install metal siding light mounting blocks:
Place your light where you want it and mark it on your siding. Make sure it’s near an electrical box or where you can run wiring if you need to.
| Metal siding light mounting block | Choose a mounting block that is appropriate for the size and weight of your light fixture. |
| Exterior-grade caulk | This will help to create a watertight seal around the mounting block and prevent leaks. |
| Electric drill and drill bits | You will need to drill holes in the siding and the mounting block to secure it in place. |
| Screwdriver | This will be used to tighten the screws that secure the mounting block to the siding. |
| Level | Use a level to make sure that the mounting block is level before you secure it in place. |
| Screws | Choose screws that are the right size and type for your siding and mounting block. |
| Safety glasses | It is important to wear safety glasses whenever you are working with power tools. |
| Wire strippers and connectors (if wiring is involved) | If you are installing a new light fixture, you will need to strip the wires and connect them to the wires from the electrical box. |
Read Also: 5 Simple Steps To Install Recessed Can Lights Sloped Ceiling. Want To Try?
Set up the area as follows:
Make sure the siding where the mounting block will go is clean. You may need to lightly score the metal with a utility knife to help the caulk stick.
Apply the caulk:
Apply caulk generously around the back of the mounting block where it will contact the siding.
Position of the block:
The mounting block should be firmly pressed onto the siding at the marked location. Make sure it’s straight with a level.
Secure the block:
You’ll have to drill pilot holes through the mounting block and into the sheathing or framing behind the metal siding and screw it in place.
Complete wiring (if applicable): For new fixtures:
- Turn off power to the circuit at your breaker box.
- Feed the fixture wires through the mounting block opening.
- Connect the fixture wires to the corresponding wires in the electrical box using wire connectors.
- Make sure all wires are insulated and secure.
Attach the fixture:
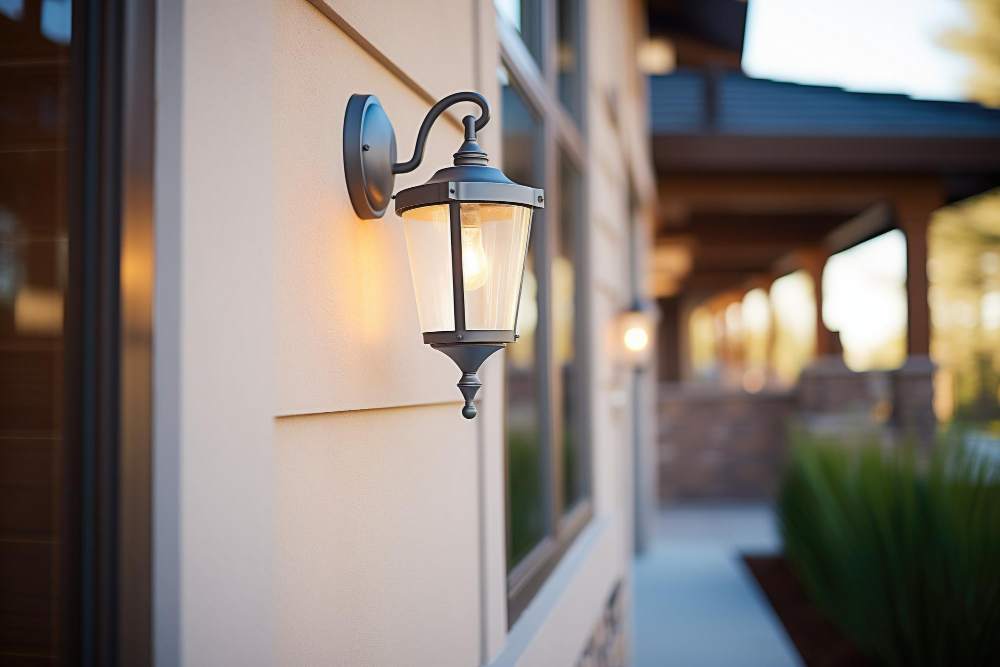
Follow the manufacturer’s instructions when mounting the fixture. Make sure it’s tight.
Seal and finish:
Put a bead of caulk around the edge of the mounting block where it meets the siding.
Read Also: Ceramic Light Fixture Replacement Without Screws: 3 Simple DIY Tricks
How do mounting blocks work?
Metalsiding light mounting blocks make it easy to install exterior fixtures:
1. Bridging the Gap:
Mounting blocks give you a flat surface on top of uneven siding (like vinyl, metal, etc). This makes it easier to mount things like light fixtures, electrical boxes, and hose bibs.
2. Secure attachment:
A mounting block usually has pre-drilled holes or a recessed area for screws, so you can attach it to the wall sheathing.
3. Customizable fit:
You can cut out the center portion of some mounting blocks to fit around pipes, wires, or odd-shaped fixtures.
4. Weather protection:
Mounting blocks seal the space between the fixture and the siding. This minimizes water intrusion and protects electrical connections.
5. Aesthetic Finish:
The mounting blocks come with decorative trim rings that hide the raw edges of the siding and give the installation a polished look.
Read Also: Floor Lighting Hallway: 6 Steps To Make Your Hallway More Inviting
What kind of mounting block do you need for your exterior lights?
Yes, you generally need a mounting block for exterior lights. Here’s why:
- Stable base: Mounting blocks provide a flat, secure base for your light fixtures, especially on uneven surfaces.
- Prevents water intrusion: Mounting blocks seal the fixture to the wall, reducing water leakage behind siding.
- Aesthetic appeal: You can get mounting blocks in all shapes and sizes to match your light fixture and home.
In some instances, you can attach a light directly to your siding, but mounting blocks are always safer and more durable.
Read Also: Motion Sensor Red Light Blinks 3 Times: How To Fix A Wireless Sensor Light?
What is a mounting block for construction?
Metal siding light mounting blocks make it easy to install outdoor fixtures. If you tried to put a light fixture or electrical box directly on bumpy vinyl siding or uneven wood, you would have a problem.
Mounting blocks solve that by giving you a flat, stable surface. The mounting block also acts as a little raincoat, keeping water from sneaking behind the siding.
There are several types of installation blocks. Electrical mounting blocks are just for that – holding electrical boxes securely in place. Light mounting blocks are just for lights!
In addition to being universal, a universal mounting block doesn’t have raw siding edges. Many also come with a neat trim piece to hide them.
Read Also: Seoul Semiconductor Light Replacement: How To Make It Work Again?
In conclusion, with metal siding light mounting blocks, you can easily and securely mount outdoor lights.
They’re not only pretty but also protect you from harsh weather conditions. So, say goodbye to fumbling with lights and hello to a hassle-free and stylish way to illuminate the exterior of your home.
