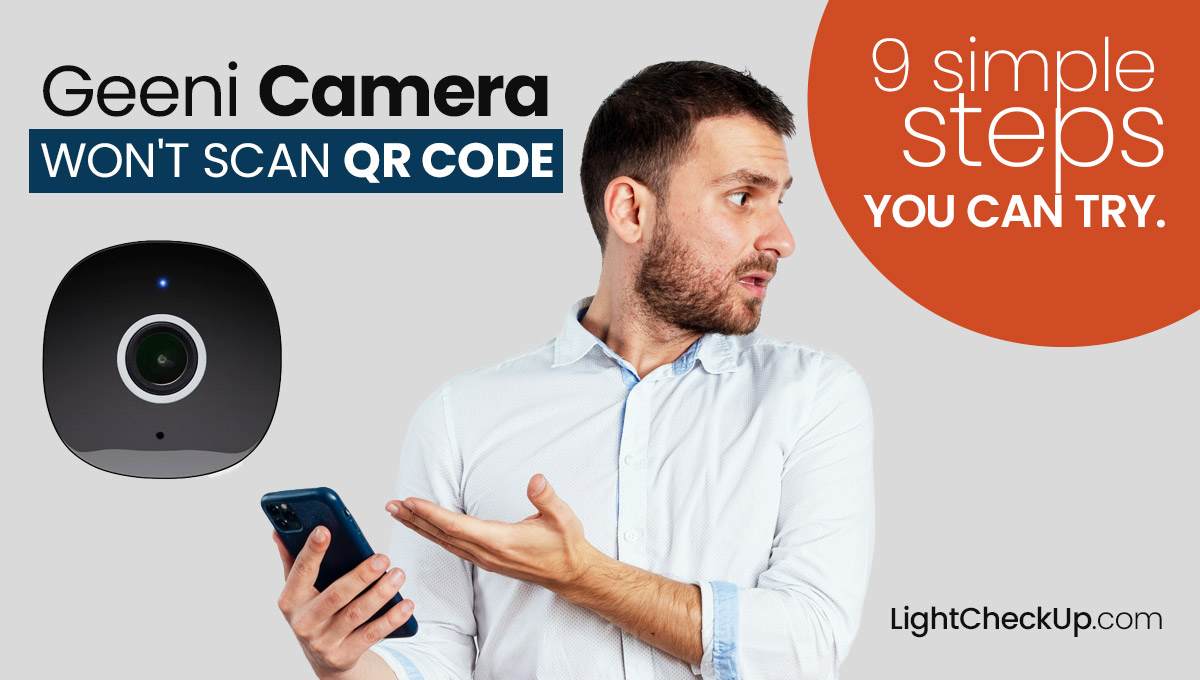
If your Geeni camera won’t scan QR code, don’t worry. When you scan the Geeni camera QR code during setup, the camera receives Wi-Fi login details. Set up your network credentials and connect to them. If your smart camera isn’t connected to your network, you can’t use it.
Geeni cameras offer budget-friendly smart home security at a reasonable price. They are easy to set up and integrate with Geeni’s app. In some cases, users have reported problems scanning QR codes during setup. It can prevent the camera from connecting to Wi-Fi and render it unusable.
This guide will explain why Geeni cameras won’t scan QR codes on Android and iOS devices. I will also provide step-by-step solutions.
It doesn’t matter if you’re on Android or iOS or just want another method to setup; we’ve got you covered.
Here’s why Geeni camera won’t scan QR code
Keep the QR code bright and clear. Clean the QR code from dirt, smudges, and other obstructions. Put the QR code under a bright light or clean it with a soft cloth.
Keep the QR code close to the camera. Hold the QR code about 6 inches from the camera lens. In some cases, a QR code may not be scanned if it is too far away from the camera.
Use a different QR code scanner app. QR code scanner apps are available for Android and iOS. Try using another app if you still can’t scan the QR code.
Keep your Geeni camera up-to-date. Geeni releases software updates regularly to improve performance and fix bugs. Keep your Geeni camera’s software up-to-date.
You need to reset your Geeni camera. When all of the above fails, you might try resetting your Geeni camera. After the reset, you’ll need to re-enter all of your settings.
For further assistance, contact Geeni Support after trying all of the above.
What’s the best way to scan QR codes with Geeni?
Geeni’s QR code scanner makes it easy to connect your camera to your network. The following guide will help you:

- Please turn on your Geeni camera and reset it to pairing mode.
- Sign in to the Geeni app on your phone.
- To add your device, tap the “+” sign.
- Select the ‘Wi-Fi Camera’ device.
- Tap ‘Next Step’ to connect to your 2.4 GHz Wi-Fi network.
- Ensure that QR Mode in the app is on and the camera blinks when in QR Mode.
- Press ‘Next’ when it flashes quickly.
- Scan the QR code with your phone’s camera. Hold it about 6-8 inches from your phone’s camera. The camera will beep once you adjust the angle and distance.
- You can set it up after hearing the beep.
With these steps, you can connect your Geeni camera with or without a QR code.
How to fix a Geeni camera that won’t scan QR codes: 6 Solutions
- Adjust the screen brightness.
- Keep the Device at the Proper Distance
- Change the Camera Angle
- Use the Large Screen mode
- Disable Dark Screen Mode
- Clean Phone Screen and Camera Lens
- Claim a warranty.
What to Do If Your Camera Still Won’t Scan a QR Code?
If your Geeni camera still doesn’t scan the QR code after trying the troubleshooting steps mentioned earlier, you can use the Easy Mode setup as an alternative. You can follow this step-by-step guide to get started:
Open the Geeni App: Launch the Geeni app on your smartphone or tablet.
Reset Geeni Camera: Locate and press the reset button on your Geeni camera to start the setup process afresh.
Add Device: On the Geeni app home page, tap the [+] or “Add Device” option.
Select Wi-Fi Camera Device: Choose the Wi-Fi camera option from the list of devices you can add.
Enter Wi-Fi Network Password: Input the password for your 2.4GHz Wi-Fi network. Geeni cameras do not support 5GHz networks, so ensure you connect to a 2.4GHz network.
Switch to Easy Mode: Look in the top right corner for the QR Mode option and tap it. From the drop-down menu, select Easy Mode.
Confirm Flashing Light: Confirm that the camera is flashing quickly by selecting the “Yes, it is flashing quickly” option and then tapping “Next Step”.
Complete Setup: Wait for the camera to complete the setup process. This may take a few minutes.
In Easy Mode, the camera connects successfully; it should work without scanning a QR code. If you continue to experience issues, it may be helpful to reach out to Geeni customer support for further assistance. They can provide more in-depth troubleshooting or determine if your camera has a hardware issue.
Read Also: How To Do Merkury Camera Setup? Here Are 5 Simple Steps
FAQ: Geeni camera won’t scan QR code
Why won’t my Geeni camera connect?
It recommends using 2.4GHz Wi-Fi to ensure Geeni cameras are compatible. Geeni cameras do not support 5GHz networks. Weak Wi-Fi signal strength can prevent cameras from connecting. You can check your Wi-Fi password twice. Update your camera’s firmware.
Camera resets resolve connection issues.
Why are QR codes not scanning?
QR codes may not scan because:
- It may not scan correctly if the QR code is blurry, damaged, or poorly printed.
- QR code detection might be impossible due to low camera quality.
- You might need to update the scanning app if it doesn’t work correctly.
How do I connect my Geeni to my phone?
Download the Geeni app from the app store. Create an account or log in.
To add your camera, tap on the “+” icon. Once the camera is connected to the Wi-Fi network and paired with the app, follow the instructions on-screen.
Read Also: How To Reset Kasa Camera: Must Try 3 Simple Security Camera Troubleshooting
Does the Geeni camera have a reset button?
The Geeni camera won’t scan a QR code. Then reset is a better option. Most Geeni cameras have a reset button at the bottom of the back. An arrow or a label may indicate it is reset. If it’s recessed, you may require a pin or small tool to push it. If you need specific instructions on how to restart your Geeni camera, consult its user manual.
In conclusion, if your Geeni camera won’t scan QR code, don’t worry. Check that your screen is bright and the camera lens is clean. Keep your phone about a foot away from the camera. In the Geeni app, switch to Easy Mode if it doesn’t work.
These steps can help you get your camera set up and running so you can stay safe and secure in your home. Geeni’s customer support can help you.


Average Rating