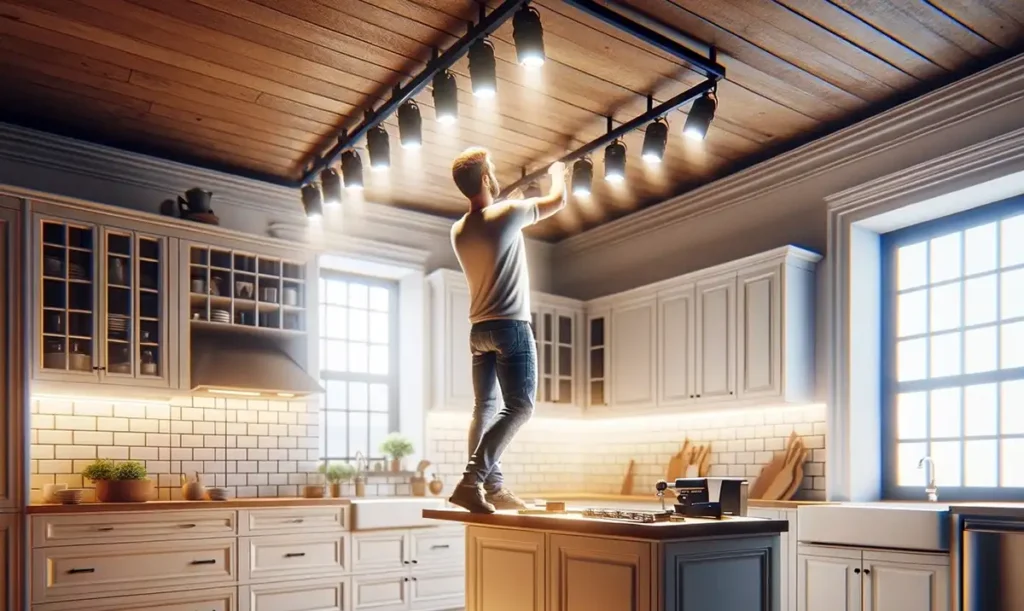
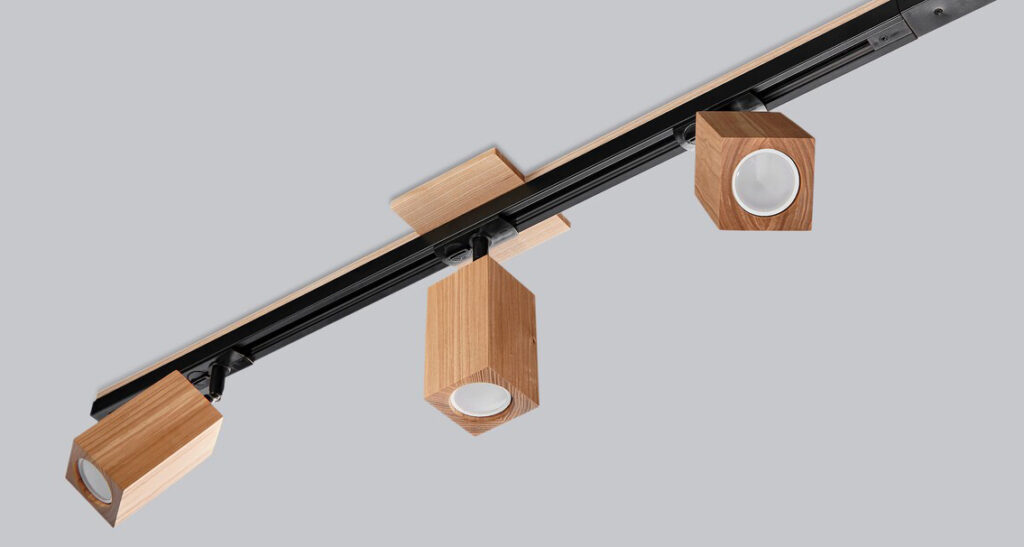
Tired of your old, outdated wood track lighting? You’re not alone. While wood track lighting can add rustic charm to a space, it can also look dated over time. It’s a great idea to replace your wood track lighting if you want to update your home’s lighting. But don’t worry, you don’t need a professional electrician. With a few simple tools and know-how, you can easily replace your wood track lighting yourself.
In this blog post, we’ll walk you through the process step-by-step, with easy-to-follow instructions on replacing kitchen wood track lighting.
Troubleshooting: What causes track lighting to stop working?
Track lighting can stop working for several reasons.

Burnt-out bulbs:
This is the most frequent cause and easiest to fix. You simply need to replace the bulb with one that is compatible with the bulb you have.
Loose connections:
Over time, connections within the track or individual fixtures can loosen due to movement or vibration. This can disrupt electricity flow and cause lights to flicker or go out completely. You can try gently adjusting the track fixtures or tightening any loose screws.
Faulty bulb socket:
If the problem persists after checking the bulb and connections, the bulb socket itself might malfunction. This usually requires replacing the fixture or seeking professional help.
Transformer issues:
Suspended Track Lighting systems often use transformers to convert voltage for specific bulb types. A malfunctioning transformer can prevent the entire system from working. While some transformers might be user-replaceable, complex issues might require electrician expertise.
It’s always best to consult a qualified electrician if you’re unsure about the cause or uncomfortable troubleshooting electrical components.
Read Also: DIY Lighting Magic: How To Make A Rope Chandelier Light Fixture
Can you replace the track lighting heads?
Yes, you can replace the track lighting heads. Most track lighting systems have interchangeable heads that can be easily removed and replaced. Follow the manufacturer’s instructions to attach the new head.

How to Replace Kitchen Wood Track Lighting
Does your kitchen boast wood track lighting that feels more dated than delightful?
Track lighting in your kitchen can add rustic charm, but it can also become an eyesore over time. Don’t worry! You don’t need an electrician to upgrade your lighting.
With a few simple tools and these 4 easy hacks, you can transform your kitchen ambiance like a pro.
Here’s what you’ll need:
- Upgrade your track lighting system (ensure compatibility with your existing wiring)
- Screwdriver
- Wire cutters (optional).
- Ladder (if necessary)
Hack #1: Power down and disconnect.
To begin with, turn off the track lighting power at the breaker box. Then, use a screwdriver to detach the existing track from the ceiling. You will follow the manufacturer’s instructions (consult the manual or search online for your specific model if needed).
Hack #2: Remove Old Fixtures and Prepare for the New
Once the track is down, remove the old fixtures according to your system (usually twisting or sliding them out). Carefully cut any old wires near the connection points, but leave enough length for the new ones.
Hack #3: Install the New Track and Fixtures
Mount the newly installed track to the ceiling using the provided hardware. Then, following the new system’s instructions, attach the brand-new fixtures to the track. Remember to carefully connect the wires, ensuring secure and proper connections.
Hack #4: Power Up and Enjoy!
Double-check all connections and ensure everything is secure. Finally, turn the power back on at the breaker box and test your new lighting system. You’ll love your new, updated kitchen! It’s fresh and modern!

Bonus Tip: Replace your fixtures with dimmable options to change the mood.
These simple hacks will help you update your kitchen track lighting without calling a pro. So grab your tools, unleash your inner DIYer, and let’s get started!
How do I know what track lighting I have?
You can easily identify the type of wood track lighting based on the number of wires running through it:
- Two wires: If your track has two wires, it’s likely a J-type or L-type track. They’re the most common and work with both fixtures.
- Three wires: If your track boasts three wires, it’s an H-type track. Although this type is less common, it offers better grounding.
Remember, these types are not interchangeable, so you’ll have to know which one you have.
Which are the three types of track lighting?
There are three main types of track lighting based on compatibility, named after their original manufacturers:
- H-track: H-tracks have three wires and have better grounding. However, it’s less common than the other two types.
- J-track: This type has two wires and is the most common track lighting.
- L-track: This type also has two wires and is compatible with J-track fixtures.
It’s crucial to identify your current type before purchasing new fixtures to ensure compatibility.
Read Also: How To Install Magnetic Track Lighting In 30 Minutes Or Less
In conclusion, these four easy hacks will transform your outdated wood track lighting into a modern, stylish feature.
It’s easy to replace your wood track lighting yourself with just a few tools and a little knowledge. So go ahead and add some style to your kitchen by updating your wood track lighting today!


